
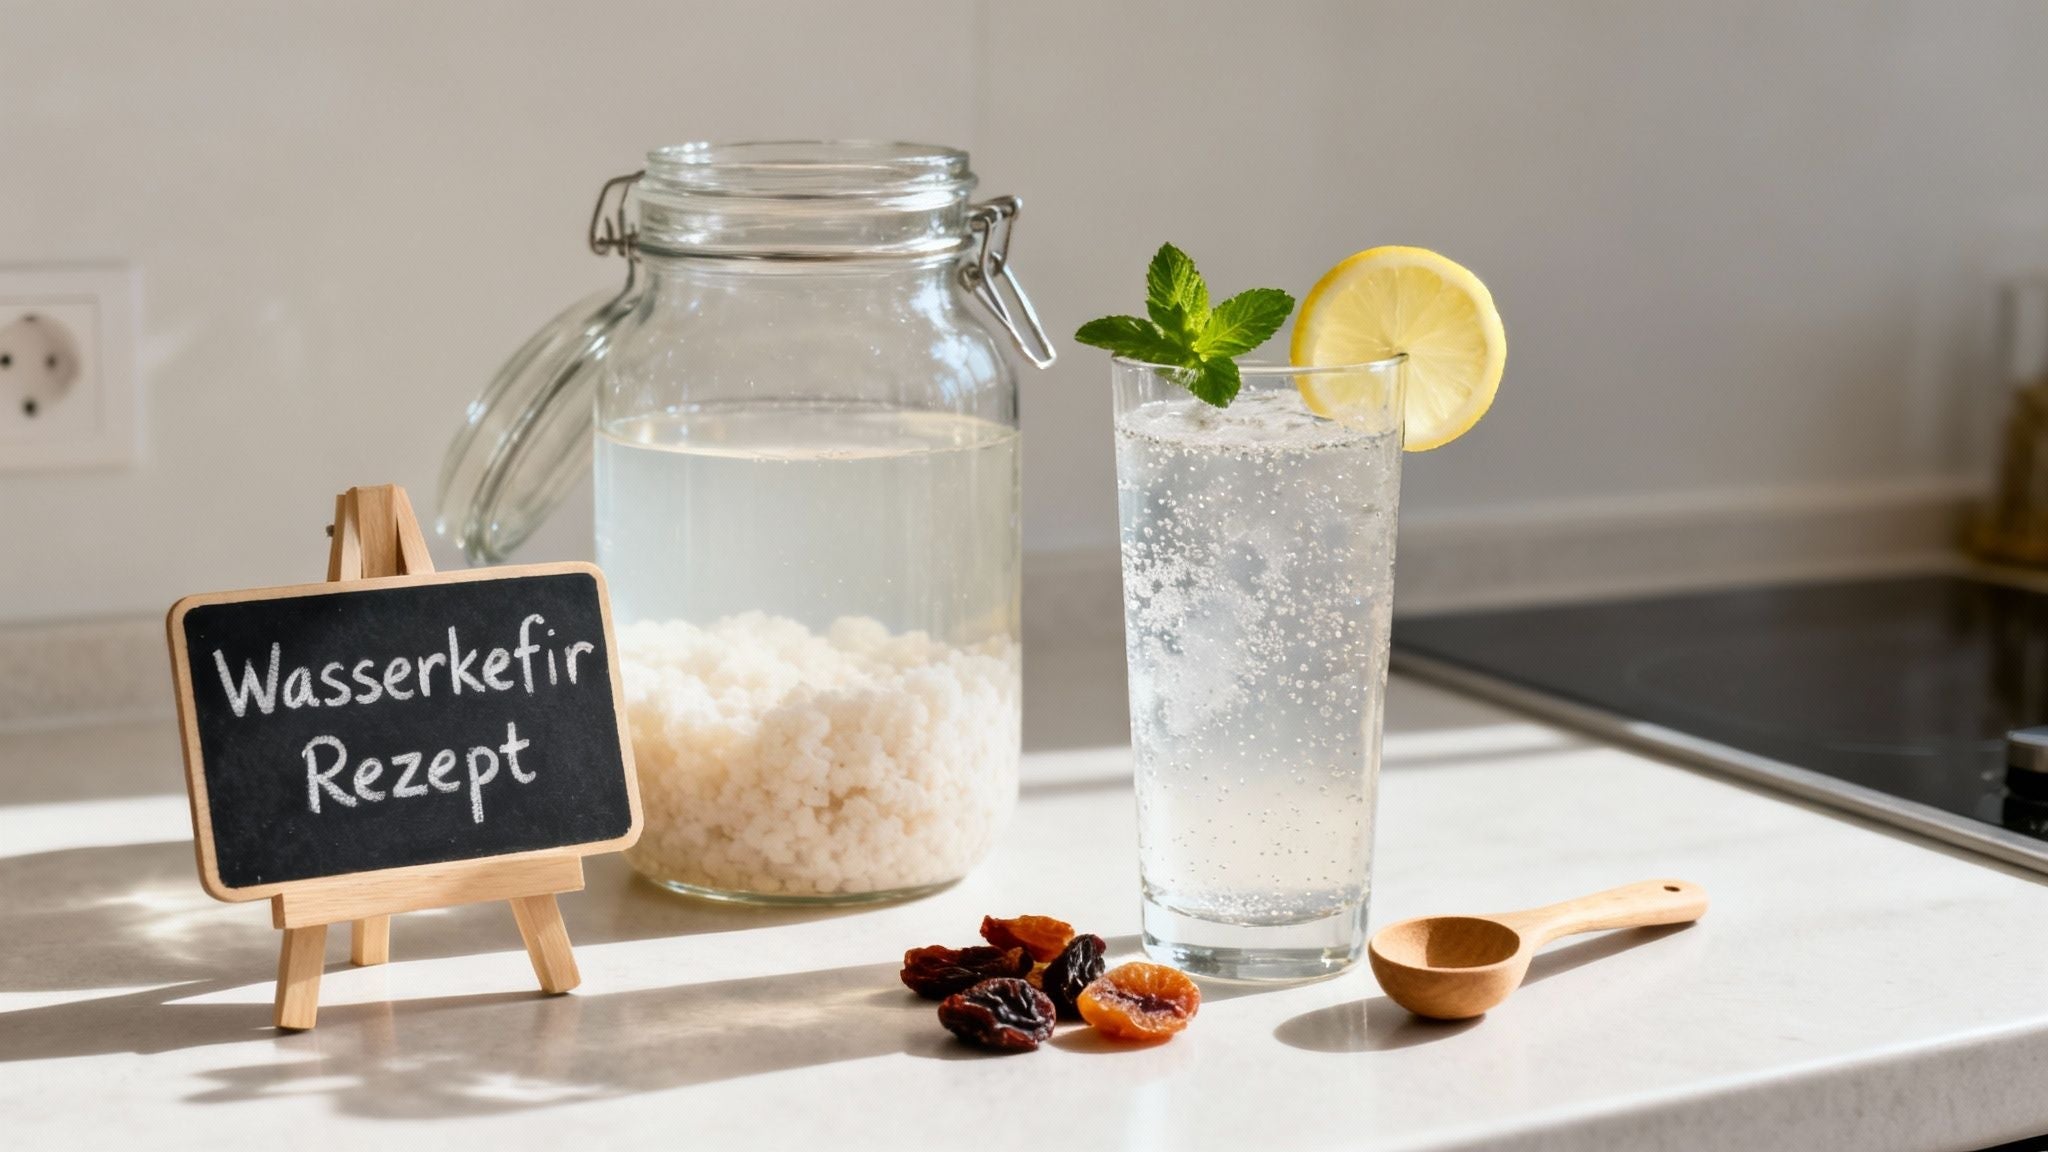
Water kefir recipe for home: Your probiotic powerhouse drink
Are you looking for a refreshing, healthy alternative to the usual sugary soft drinks? Then a simple water kefir recipe could be just what you need. With the help of live cultures, known as water kefir grains, you can transform simple sugar water into a fizzy, probiotic drink that not only tastes fantastic but can also do your gut health a real favor.
What water kefir can do for your gut health
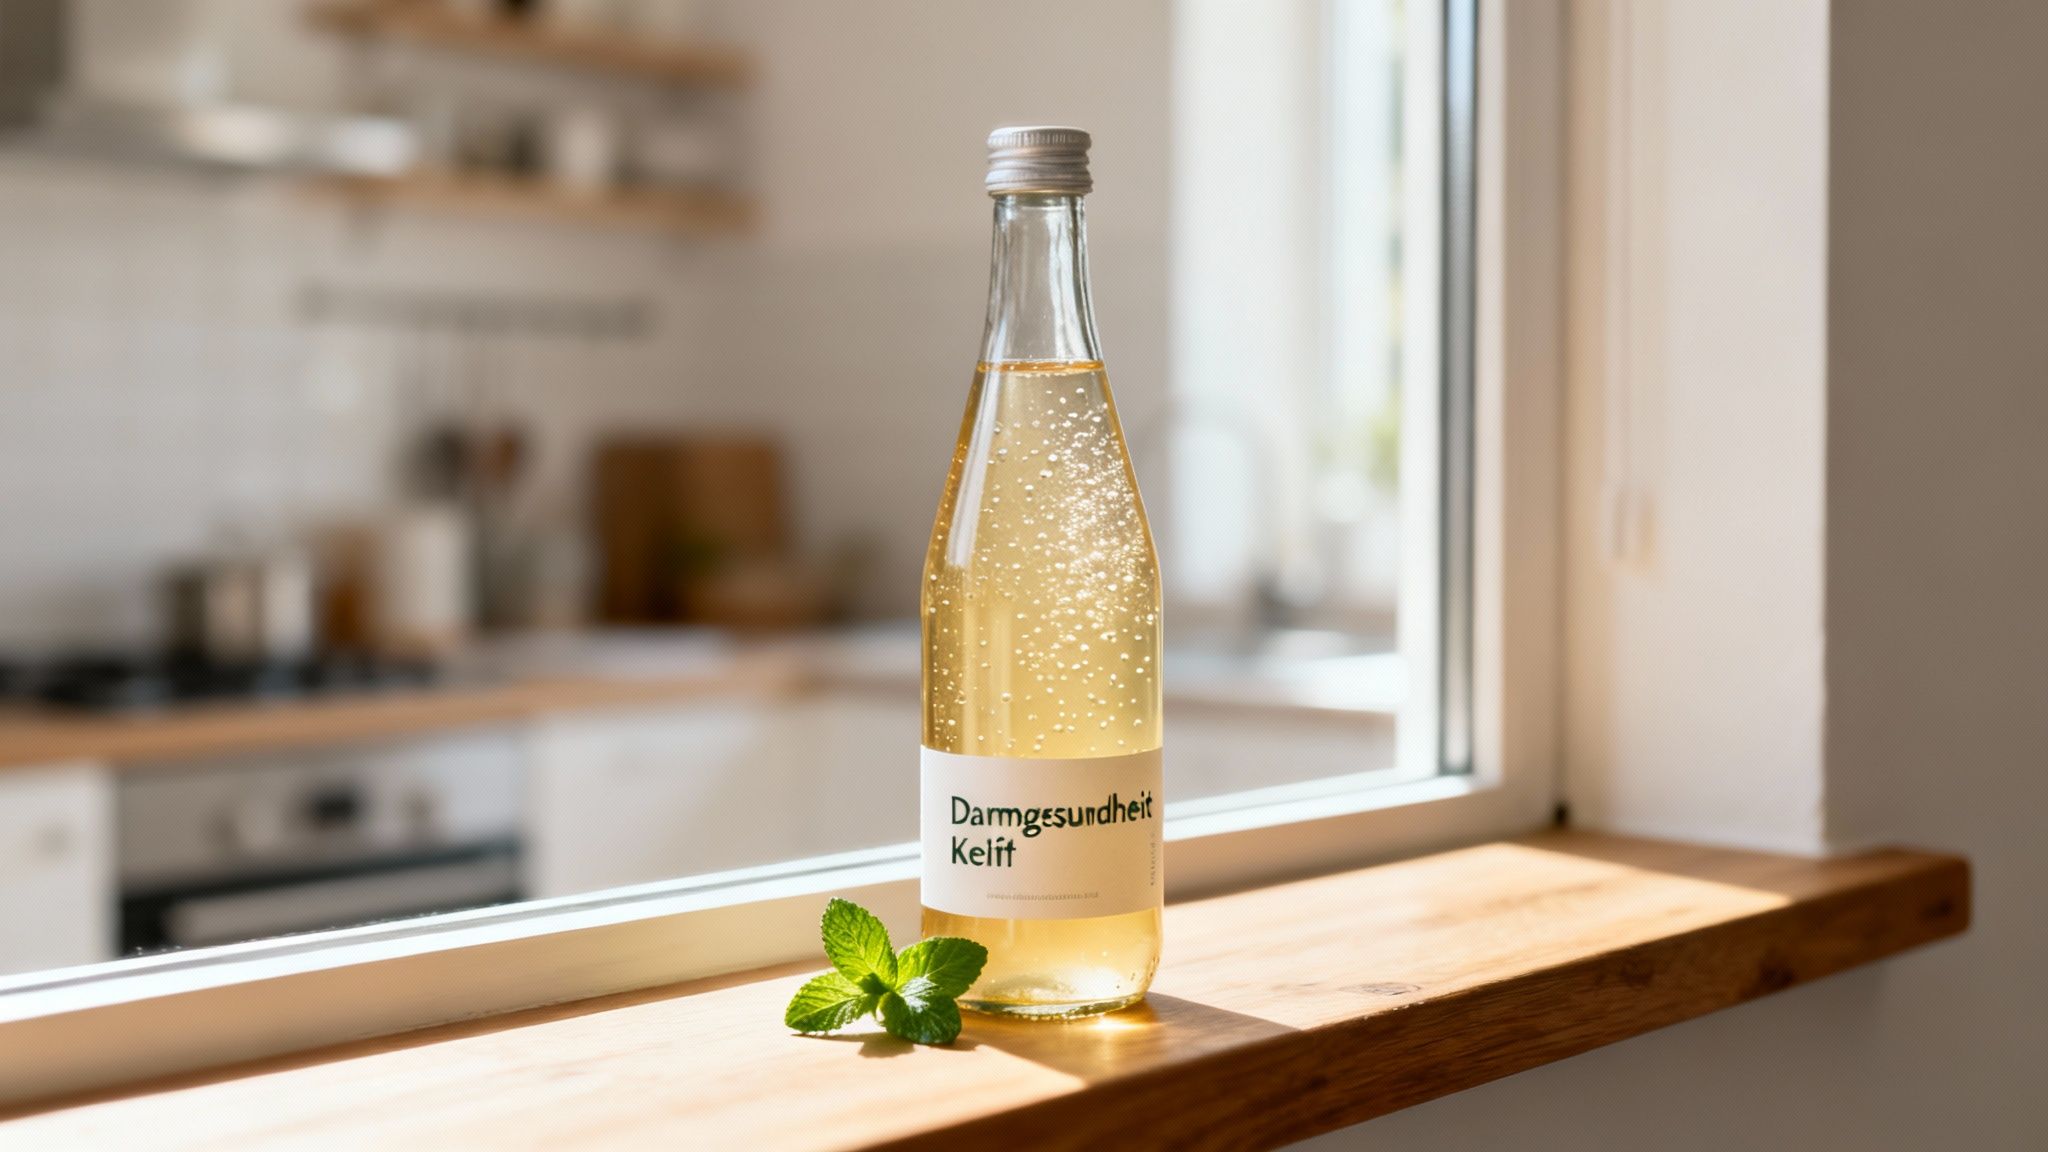
Water kefir is so much more than just a thirst quencher. Think of it instead as a living community of probiotic bacteria and yeasts. These tiny helpers work diligently, converting sugar during fermentation into valuable nutrients such as B vitamins, organic acids, and important enzymes.
These probiotic cultures can have a positive effect on your gut microbiome—the vast community of microorganisms in your digestive tract. A diverse and balanced gut flora is the absolute foundation of your overall well-being.
The connection between your gut and energy
Do you often feel sluggish, struggle with bloating, or experience other digestive issues? These could be signals from your body indicating an imbalance in your gut flora. A healthy gut is the foundation for so much more:
- Strong immune defenses: A huge part of your immune system is located in your gut.
- Efficient nutrient absorption: Only a healthy gut can make optimal use of all the important vitamins and minerals in your food.
- A stable mood: The gut-brain axis shows how closely your digestion and mental well-being are connected.
Water kefir offers a wonderful, completely dairy-free and vegan way to enrich your diet with live cultures. It is a fantastic addition to a health-conscious lifestyle and can help promote diversity in your gut.
A growing trend for good reason
The fact that fermented foods are currently so popular is no coincidence. More and more health-conscious people are recognizing just how crucial gut health really is. In fact, per-capita consumption of sour milk, kefir, and similar products in Germany has shown impressive growth, most recently reaching 14.5 kilograms per person.
While consumption of regular milk declined, the kefir group grew in popularity. This reflects exactly what we observe at mybody-x: Many people are looking for natural ways to understand their digestion and take their well-being into their own hands. You can read more about the background to this development on proprocess.de.
Water kefir fits perfectly into this picture. It offers you all the benefits of fermentation without requiring you to use dairy products. If you want to delve deeper into the subject, take a look at our detailed article on the health benefits and advantages of water kefir.
What you need for your first water kefir
Before you embark on your adventure and prepare your first water kefir recipe, let’s briefly go over what you need. The best news first: You don’t need to buy any expensive special equipment. Most of the utensils are probably already in your kitchen.
Simply see the following overview as your personal checklist. This will ensure that your first attempt succeeds right away and that nothing goes wrong.
The absolute centerpiece of your project is, of course, the water kefir grains, sometimes also called Japanese crystals. These small, gelatinous granules are a living culture of bacteria and yeasts (a so-called SCOBY). Without them, nothing happens. You can get them online, but experienced kefir enthusiasts often gladly give away a spare portion—just ask in relevant groups!
The right food for your cultures
For your grains to work, grow, and multiply diligently, they need the right nourishment. Basically, that’s just three simple ingredients: water, sugar, and a few dried fruits.
-
Water: Still, mineral-rich water is your best option. If you use heavily chlorinated tap water, it’s best to leave it uncovered overnight or briefly boil it once. The chlorine will then evaporate and can no longer harm the sensitive cultures.
-
Sugar: The grains thrive on ordinary sucrose. Organic cane sugar is ideal because it still contains some minerals that provide the little helpers with additional nutrients. Plain white sugar works in a pinch too, but it only provides pure energy.
-
Dried fruit: A few unsulphured dried fruits such as figs, dates, or raisins are an excellent source of minerals and give your kefir a delicate, fruity note. Two to three pieces per liter are perfectly sufficient.
Little pro tip: Your kefir crystals are little divas when it comes to metal. Prolonged, direct contact can damage the microorganisms. So choose utensils made of glass, wood, plastic, or stainless steel instead—you will be on the safe side.
The right tools for your water kefir recipe
Besides the ingredients, you will need a few simple tools. The same rule applies here: the less contact with metal, the happier your cultures will be.
A large glass fermentation vessel that holds at least one liter is the perfect foundation. Preserving jars with a loosely placed lid are ideal because gases are produced during fermentation and need to escape.
To stir and later strain, you need a plastic or wooden spoon and a fine-mesh plastic strainer. This lets you separate the crystals from your finished drink very gently without damaging them.
If you like your kefir nice and fizzy, pressure-resistant glass bottles with swing-top closures are a great addition. This is where the second fermentation takes place, during which the carbon dioxide develops.
Checklist for your water kefir recipe
Here you will find everything you need to successfully prepare your first water kefir, clearly summarized.
| Ingredient or utensil | Quantity and specifications | Practical tip |
|---|---|---|
| Water kefir crystals | Approx. 30–40 g per liter of water | Buy online or ask for starter cultures in community groups. |
| Water | 1 liter of still, mineral-rich water | Boil chlorinated tap water beforehand or let it stand for 24 hours. |
| Sugar | 60–80 g Organic cane sugar per liter | White sugar works too, but provides fewer nutrients for the crystals. |
| Dried fruit | 2–3 pieces (e.g. figs, dates), unsulphured | Serves as a source of nitrogen and minerals; do not reuse. |
| Fermentation vessel | Large glass vessel (at least 1 liter), e.g. a preserving jar | Cover the vessel loosely so gases can escape. |
| Spoon | Plastic or wooden spoon | Be sure to avoid metal so as not to damage the cultures. |
| Strainer | Fine-mesh plastic strainer | This gently separates the crystals from the finished kefir. |
| Bottles (optional) | Pressure-resistant glass bottles with swing-top closures | Ideal for secondary fermentation to build up carbonation. |
With this equipment, you're perfectly prepared. As you can see, it's really not rocket science, and you probably already have most of these things at home anyway. So now you're ready to get started
Successfully completing the first fermentation
So, the preparations are complete—now we can make your first water kefir recipe together. This first step, often called F1 (first fermentation) by enthusiasts, is when the real magic happens. This is where your kefir grains transform simple sugar water into a lively, sparkling, probiotic drink. Sounds complicated? Don't worry, it really isn't. I'll guide you through the process in a relaxed way.
First, dissolve the sugar in about one litre of water. The easiest way is to heat part of the water briefly and dissolve the sugar in it while stirring. But it is very important to let the sugar solution cool completely back to room temperature before adding the delicate kefir grains. Heat is the natural enemy of these tiny microorganisms—they could be damaged or even die.
Once the sugar water has cooled, pour it into your large glass container. Carefully add the rinsed water kefir grains and the unsulphured dried fruit. Give everything a brief, gentle stir with a wooden spoon so it is well distributed, and that's almost it.
Starting and observing the fermentation process
Now cover the jar loosely. A simple cloth secured with a rubber band or a loosely placed lid is perfect. This allows the gases produced during fermentation to escape while protecting your mixture from dust and small insects.
Place the jar in a warm spot, but out of direct sunlight. The ideal temperature for fermentation is somewhere between 20 and 25 degrees Celsius. The cultures feel right at home in this range and work best. The whole process usually takes 24 to 48 hours.
Keep in mind: The duration is not a hard-and-fast rule, but rather a guideline. The warmer the room, the faster the little helpers get to work. In summer, your kefir may be ready after just one day, while in the cooler winter it can sometimes take three days.
This simple visual guide shows you the key components for your water kefir recipe again in the correct order.
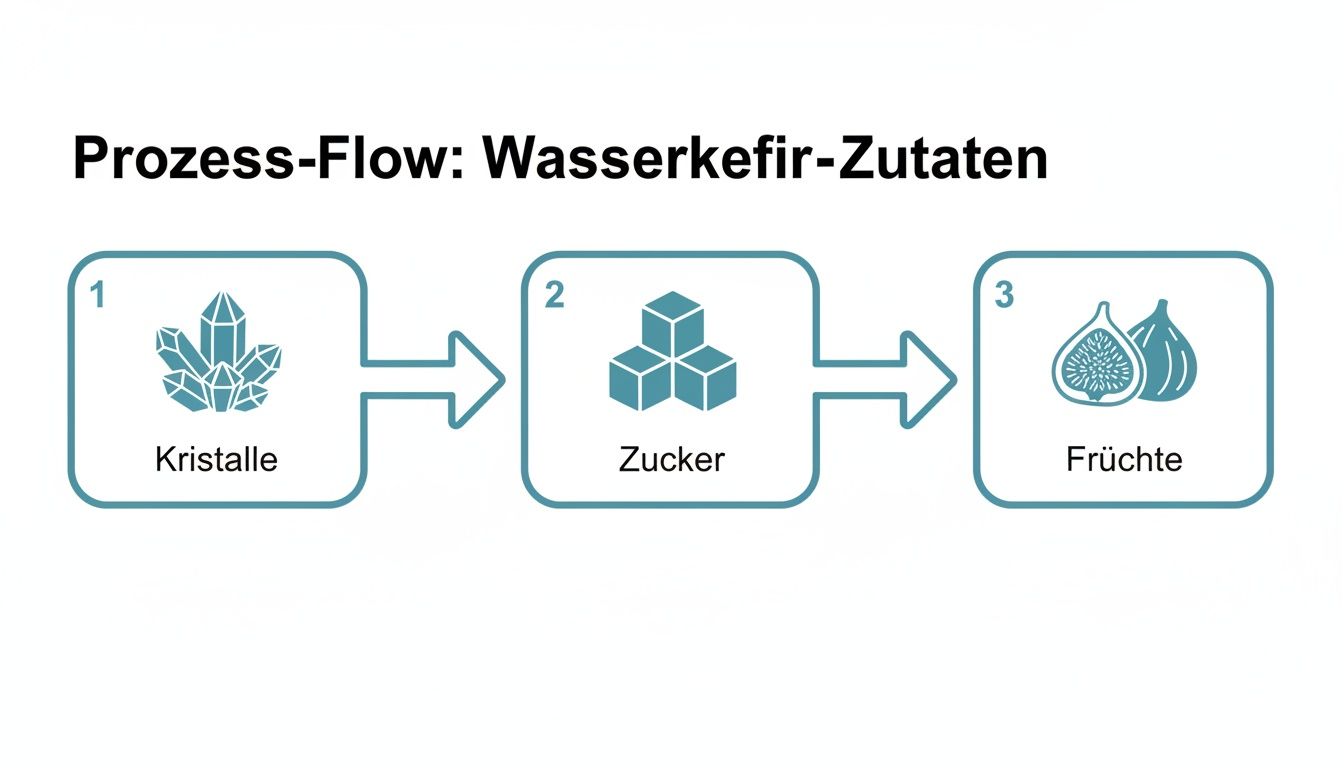
Each ingredient plays its own important role in the fermentation process: the crystals as the starter culture, the sugar as food, and the fruit as an important source of minerals.
How to tell when your kefir is ready
But how do you know the perfect time to stop the process? Simply watch for these three signals from your kefir:
- The taste: Simply taste a spoonful from time to time. The kefir should no longer taste cloyingly sweet, but it should not be unpleasantly sour yet either. The sweetness of the sugar should have given way to a pleasantly sparkling, slightly sour note.
- The activity: You can see fine bubbles rising and the dried fruit bobbing up and down in the glass. That is a great sign—the fermentation is in full swing!
- The smell: Finished water kefir has a very light, yeasty, pleasantly sour smell.
This trend toward fermenting at home fits perfectly with current developments in Germany. In fact, by 2020, several million people were already consuming kefir several times a week, as shown by a comprehensive study of more than 23,000 respondents. As a dairy-free alternative, water kefir is ideal for benefiting from this trend, especially when intolerances are a factor—a topic that concerns many of our users at mybody-x. Find more insights into these consumption trends on Statista.
Strain the crystals and prepare the next batch
As soon as your kefir reaches the perfect flavor for you, it is time to separate the crystals from the finished drink. Pour the contents of your fermentation vessel through a plastic strainer into a bowl or directly into the bottles for the second fermentation. You can now remove and discard the dried fruit.
Briefly rinse the crystals left in the strainer under lukewarm running water. They are now ready to go straight into your next water kefir recipe. You can add them directly to freshly prepared sugar water—and the cycle begins again.
Your finished water kefir from this first fermentation is now ready to drink straight away or—for an even more enjoyable option—for the next creative step: flavoring.
More flavor and fizz through secondary fermentation
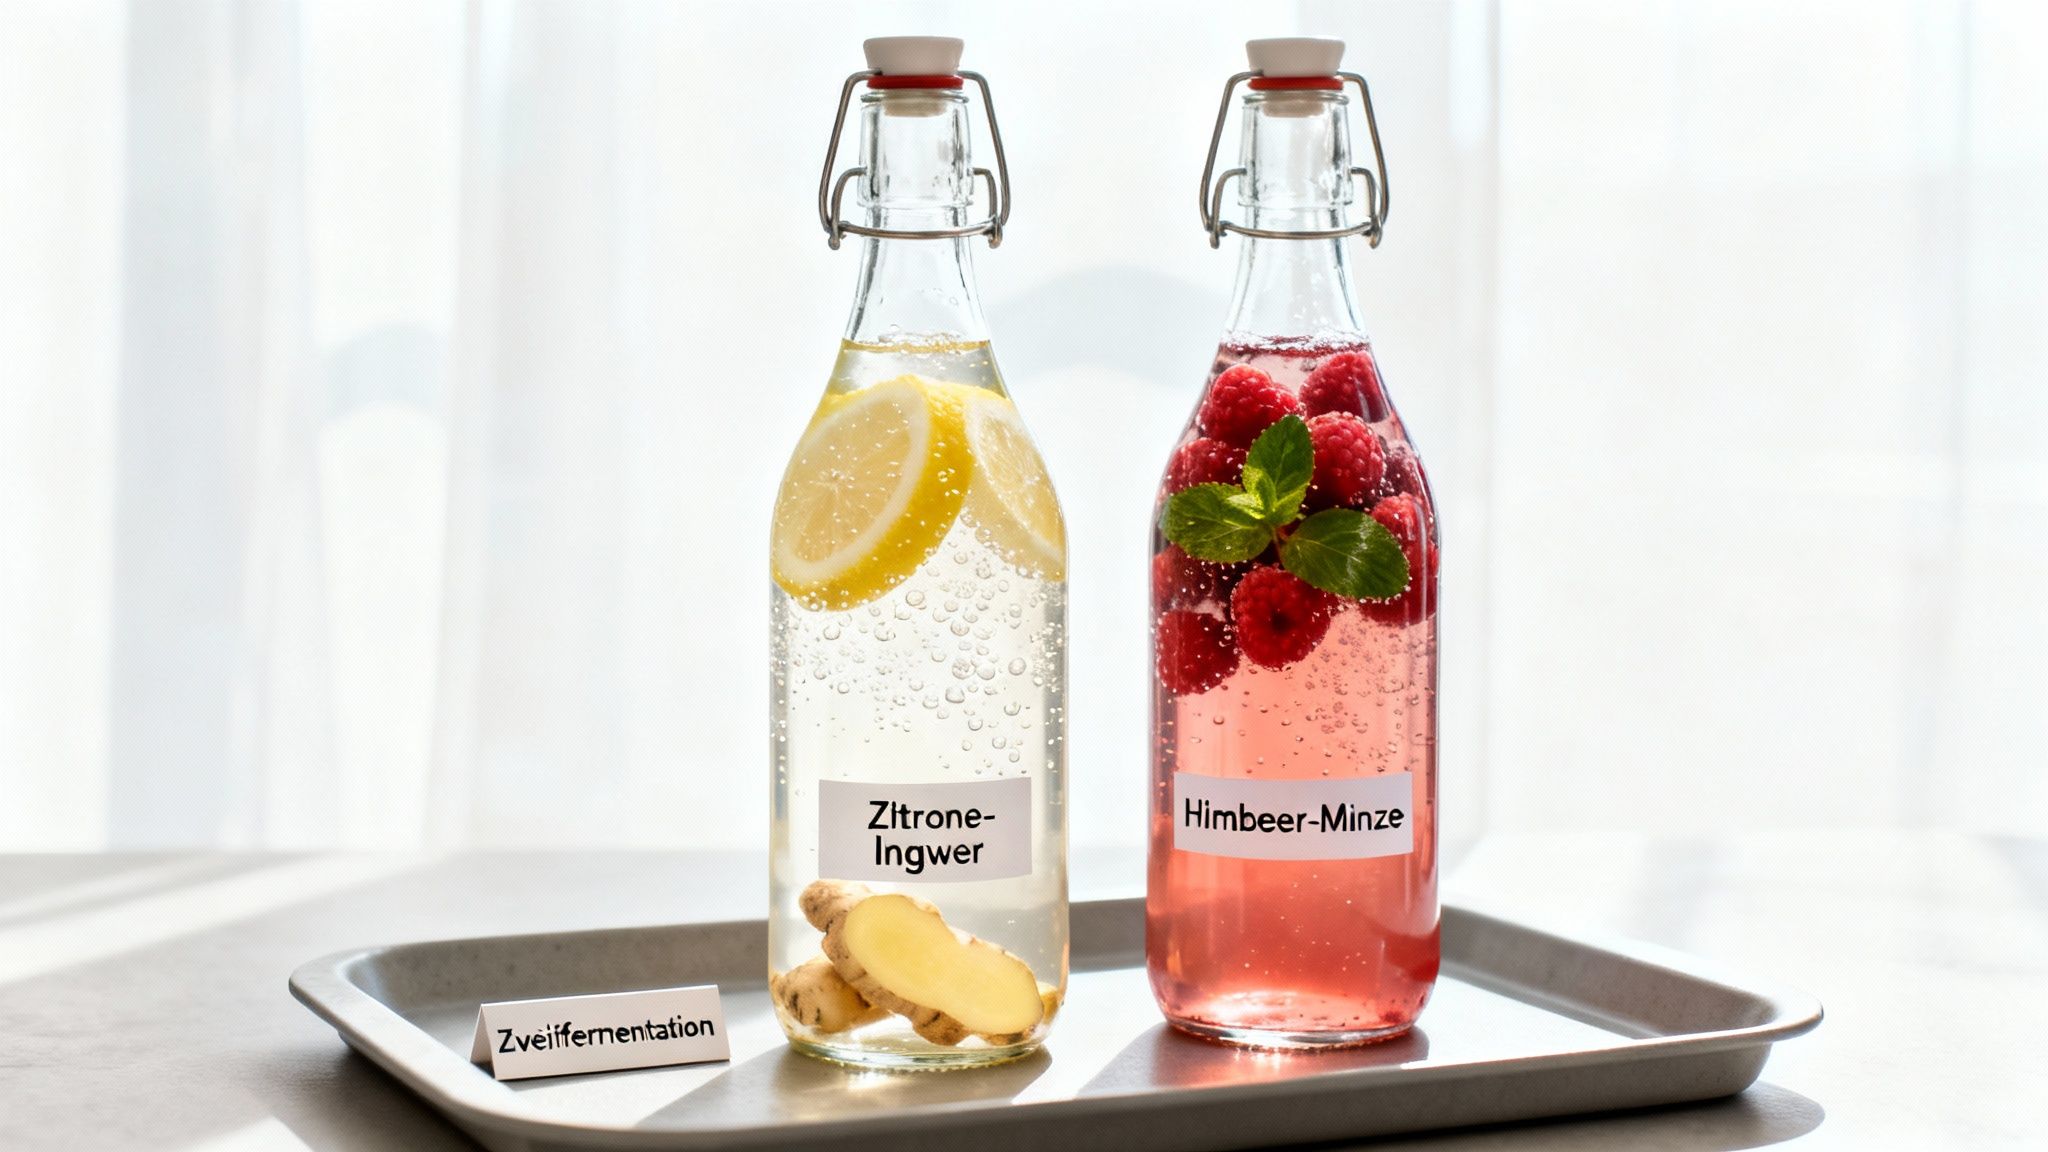
Congratulations, your basic water kefir is ready! Now comes the part that is really fun and lets you unleash your creativity: secondary fermentation, also known in the community as F2. This is where you give your drink a truly personal touch and create that wonderfully sparkling fizz reminiscent of a good lemonade.
Sure, this second step is optional, but I highly recommend it. Without it, water kefir can often taste a little flat. During secondary fermentation, you fill pressure-resistant bottles with the finished kefir along with fruit, juices, or spices. The remaining microorganisms eagerly consume the new “food” and produce plenty of carbon dioxide, which remains trapped in the sealed bottle.
The result? A much fizzier drink with far more depth of flavor. Think of it as your personal playground for discovering new creations again and again and finding your very own favorite recipe.
Flavor your water kefir to your taste
Now it's your turn! Almost anything that adds a little sugar or an intriguing flavor is suitable for the second round. The only important thing is to use good-quality, premium ingredients without artificial additives or preservatives.
Here are a few tried-and-tested ideas to get you started:
- Fruit juices: A small splash of your favorite juice, around 50–100 ml per liter, often works wonders. Grape, apple, or cherry juice are wonderfully easy to use.
- Fresh or frozen fruit: Berries such as raspberries or blueberries are great. Citrus fruits such as orange or lemon slices work just as well, as do exotic fruits such as mango or pineapple.
- Herbs and spices: A few leaves of fresh mint, a sprig of rosemary, a few slices of ginger, or a cinnamon stick give it a sophisticated touch.
A little tip from my experience: Always combine something sweet with something sour; it creates a balanced result. The absolute classic that almost always works is the combination of lemon and ginger. For a summery version, try raspberry and mint, and in winter, blood orange with a sprig of rosemary is unbeatable.
How to create the perfect fizz
The key to beautifully fizzy kefir is bottling it correctly and having a little patience. Be sure to pour your flavored kefir into pressure-resistant glass bottles with swing-top closures. These bottles are specifically designed to withstand the pressure that develops. Regular screw-top bottles are unsuitable for this.
Always leave about 2-3 cm of space at the top of the bottle. This small air gap is important so the pressure can build up safely without becoming dangerous. Then seal the bottles tightly and leave them at room temperature for another 24 to 48 hours.
Very important: During this time, open the bottles briefly at least once a day to release excess pressure. In English, this is called “burping.” This prevents the bottles from bursting in the worst-case scenario. Over time, you’ll quickly develop a feel for how active your kefir is.
As soon as the desired level of carbonation is reached, place the bottles in the refrigerator. The cold almost completely stops fermentation and transforms your water kefir into a perfectly chilled, refreshing drink. It will easily keep there for a week.
How to care for your kefir crystals and solve common problems
Your water kefir crystals are small, living powerhouses. To keep them healthy, help them multiply actively, and enjoy them for a long time, they really only need a little attention. With the right care, they will quickly become loyal companions on your journey toward greater well-being.
It’s best to think of them as small pets: the most important thing is feeding them regularly with fresh sugar water. After each completed fermentation, simply separate them from the finished drink and immediately prepare a new batch. This keeps them active and healthy.
How to recognize healthy kefir crystals
Are you wondering how to tell whether your cultures are really doing well? Healthy water kefir crystals are plump, slightly translucent, and feel firm—almost rubbery. If they multiply in the fermentation vessel and your kefir ferments reliably and tastes good, everything is on track.
Another great sign is their activity: if small bubbles rise during fermentation, you know the microorganisms are hard at work.
Important note: Slightly cloudy water or a thin, white layer of yeast on the surface is completely normal—no reason to worry! It is part of the natural fermentation process. It only becomes a concern when colored, fuzzy mold forms. In that case, you should dispose of the entire batch as a precaution.
Troubleshooting: The most common problems and their solutions
Even with the best care, something can occasionally go wrong. But don’t panic—for most typical beginner problems, there are simple and quick solutions. Here is your handy cheat sheet for the most common challenges.
-
My kefir isn’t fizzy: This is usually due to too little “food” during the second fermentation. Simply add a teaspoon of sugar or a splash of extra fruit juice to the bottle. Also make sure that the room temperature does not fall below 20 °C and that the bottles are sealed tightly.
-
The kefir tastes too sour: This happens when the fermentation has lasted too long. Next time, simply shorten the fermentation time by a few hours. The cultures work significantly faster in summer than in winter.
-
My crystals aren’t growing: This is often a sign of a mineral deficiency. Try adding an unsulfured date or a pinch of high-quality, non-iodized sea salt to your next batch. Sometimes, simply using mineral-rich water can help.
If your finished drink initially causes digestive reactions such as a bloated stomach, this may be due to your microbiome adjusting. This is completely normal. Simply start with small amounts and gradually increase them. In our guide, you’ll find additional tips for bloating that can help you during the initial phase.
Taking a break for your kefir crystals
Are you going on vacation or simply want to take a break? No problem! For a short break of up to a week, simply prepare a regular batch and place the fermentation vessel in the refrigerator. The cold significantly slows down the cultures’ metabolism. When you return, strain the kefir (it will be very sour, so don’t be surprised), briefly rinse the crystals, and start again as usual.
Understand your body with a gut analysis
Incorporating water kefir into your routine is a fantastic step for your gut health. The probiotic cultures can enrich the diversity of your gut bacteria, positively influencing your digestion, immune system, and even your mood.
But as valuable as fermented foods are, every gut is unique. What is a real boon for one person may not be enough for another or may simply not be the most targeted measure. To make truly informed decisions about your health, you first need to know what is actually going on inside your body.
More than just a good gut feeling
Your gut microbiome is a complex ecosystem whose composition is as individual as your fingerprint. It responds to everything: your diet, stress levels, sleep, and probiotic helpers such as water kefir. But are you really getting the maximum benefit from it? Could you be lacking certain bacterial strains, or is there an imbalance that requires more targeted support?
This is exactly where a thorough analysis comes in. Instead of simply guessing, you’ll get clear facts about the state of your gut flora.
A gut test gives you the opportunity to go beyond general recommendations. You’ll learn which specific bacteria colonize your gut and where action may be needed. This is the key to a truly personalized health strategy.
Your path to targeted gut health
A gut microbiome test from mybody-x provides exactly the precise insights you need for the next step. You’ll receive a detailed analysis of your gut bacteria composition and discover whether your body particularly benefits from probiotic foods such as water kefir.
- Recognize imbalances: Find out whether there is an imbalance between beneficial and harmful bacteria.
- Identify deficiencies: See which important bacterial genera may be underrepresented in your gut.
- Receive personalized recommendations: Based on your results, you’ll receive specific tips for your diet and lifestyle.
Imagine combining the enjoyment of your homemade water kefir with the knowledge that you’re giving your body exactly what it needs. Learn more about how a comprehensive gut analysis works and what insights you can gain from it. This way, you can strengthen your health in a targeted and effective way from within.
What else you should know about your water kefir recipe
To wrap up, we’ll answer the questions we keep receiving about making water kefir. Here you’ll find quick, practical answers to clear up common uncertainties from the start.
Can I use honey instead of sugar?
No, unfortunately, that isn’t a good idea. Water kefir cultures are specialized little organisms and specifically need sucrose—regular table sugar or cane sugar—as food. Honey naturally has antibacterial properties that could harm the sensitive microorganisms.
The cultures can’t make use of sugar substitutes such as xylitol or erythritol either; they simply cannot metabolize them. If you want your grains to stay healthy and active, it’s best to stick with high-quality organic cane sugar.
Help, my water kefir grains aren’t multiplying!
Don’t worry, this is a common problem. If your grains aren’t growing, it’s usually due to a lack of minerals. You can fix this very easily:
- Give them minerals: A mineral-rich dried fruit such as a single date or a tiny pinch of good, non-iodized sea salt in the mixture often works wonders.
- Check your water: Very soft or heavily filtered water is often too “clean” and contains hardly any minerals. Trying still mineral water can stimulate growth again.
- Maintain a constant temperature: The grains like things comfortable and consistent. A room temperature between 20 and 25 °C is ideal.
Is there alcohol in finished water kefir?
Yes, every fermentation produces a small amount of alcohol—it simply cannot be avoided. However, the content in finished water kefir is very low and is normally only between 0.2% and 1.0%.
The exact amount depends on various factors: how much sugar you use, how long you let it ferment, and how warm the room is. The alcohol content is comparable to that in ripe bananas or some fruit juices and is completely harmless for most people.
Nevertheless, this is an important point for pregnant women, children, or people who must strictly avoid alcohol.
Would you like not only to make delicious water kefir but also understand how your gut individually responds to probiotic foods? Looking inside gives you the clarity you need to make informed health decisions. Discover the self-tests from mybody-x and really get to know your body. Learn more about your options here.



Share now:
The 10 best recipes for healthy weight loss for your body
Your wild herb recipe for more energy and well-being in everyday life