
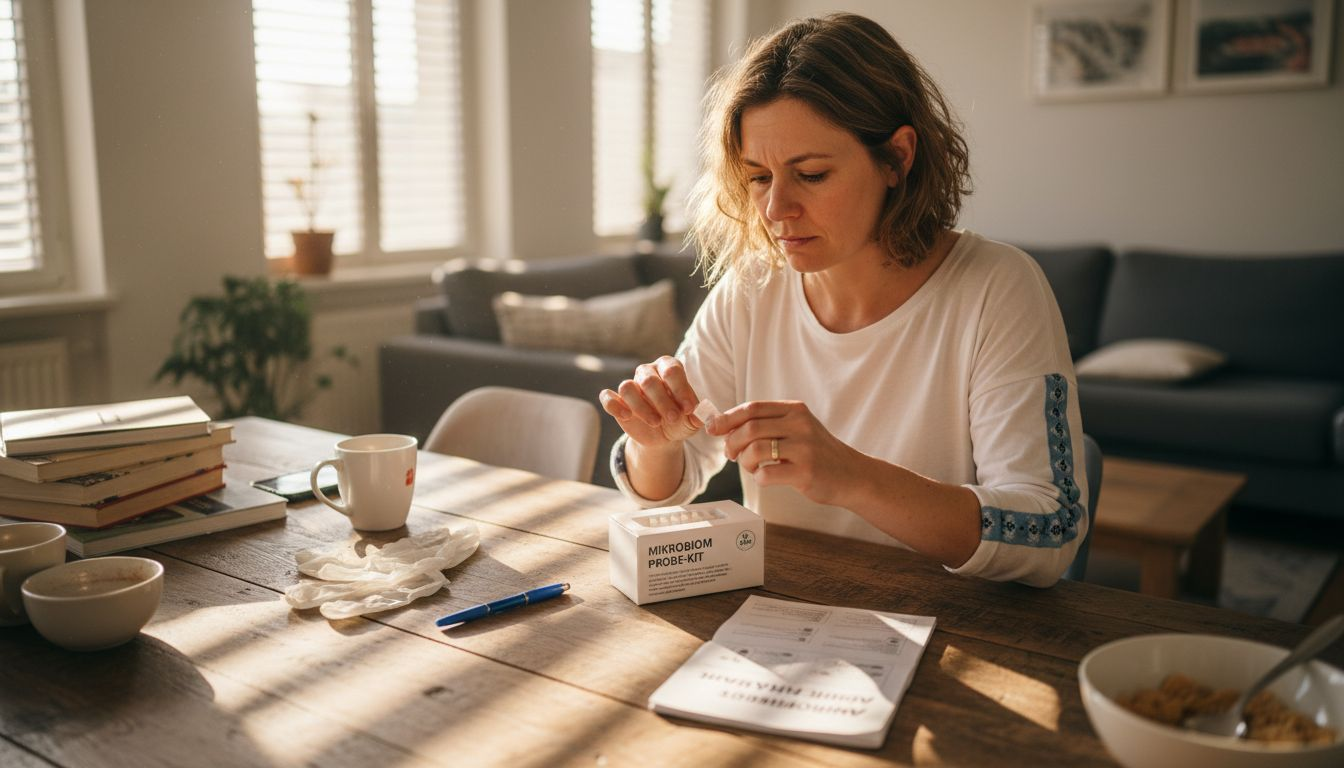
Perform an at-home microbiome test: Step-by-step guide
The path to a more balanced digestive system often begins with small, self-directed steps. Anyone who wants to improve their gut health and adjust their diet intentionally will quickly recognize how valuable a precise analysis of the microbiome can be. Careful preparation and independently performing a microbiome test lays the foundation for reliable results and helpful insights into your own health.
Table of contents
- Step 1: Prepare the test kit and your workspace
- Step 2: Properly collect the stool sample
- Step 3: Package and ship the sample securely
- Step 4: Check the analysis progress online
- Step 5: Interpret your individual results report
Brief summary
| Important point | Explanation |
|---|---|
| 1. A clean workspace is important | A clean and well-lit place is essential for reliable test results. |
| 2. Proper sample collection required | Follow the instructions carefully to avoid contamination. |
| 3. Shipping within 24–48 hours | For the quality of the analysis, the sample must be shipped promptly. |
| 4. Online progress tracking | Conveniently track the status of your analysis via the online portal. |
| 5. Professional interpretation of results | If anything is unclear, you should consult an expert to make well-informed decisions. |
Step 1: Prepare the test kit and your workspace
Before starting the at-home microbiome test, careful preparation is essential. The right workspace and proper handling of the test kit are basic requirements for a reliable test result.
The following preparations are important:
- Choose a clean and well-lit work area
- Wash your hands thoroughly before starting
- Lay out all test materials in an organized manner
- Make sure you have a stable surface
The test kit should contain the following components:
- Sample collection container
- Hygienic disposable gloves
- Detailed instructions for use
- Shipping envelope with barcode
Make sure to allow sufficient time and peace and quiet for sample collection. A focused and calm environment will help you follow the instructions precisely.
Important: Read the instructions for use in full before starting and prepare all materials in advance.
Pro tip: Lay out all the required utensils within easy reach to avoid stress and rushing during sample collection.
Step 2: Properly collect the stool sample
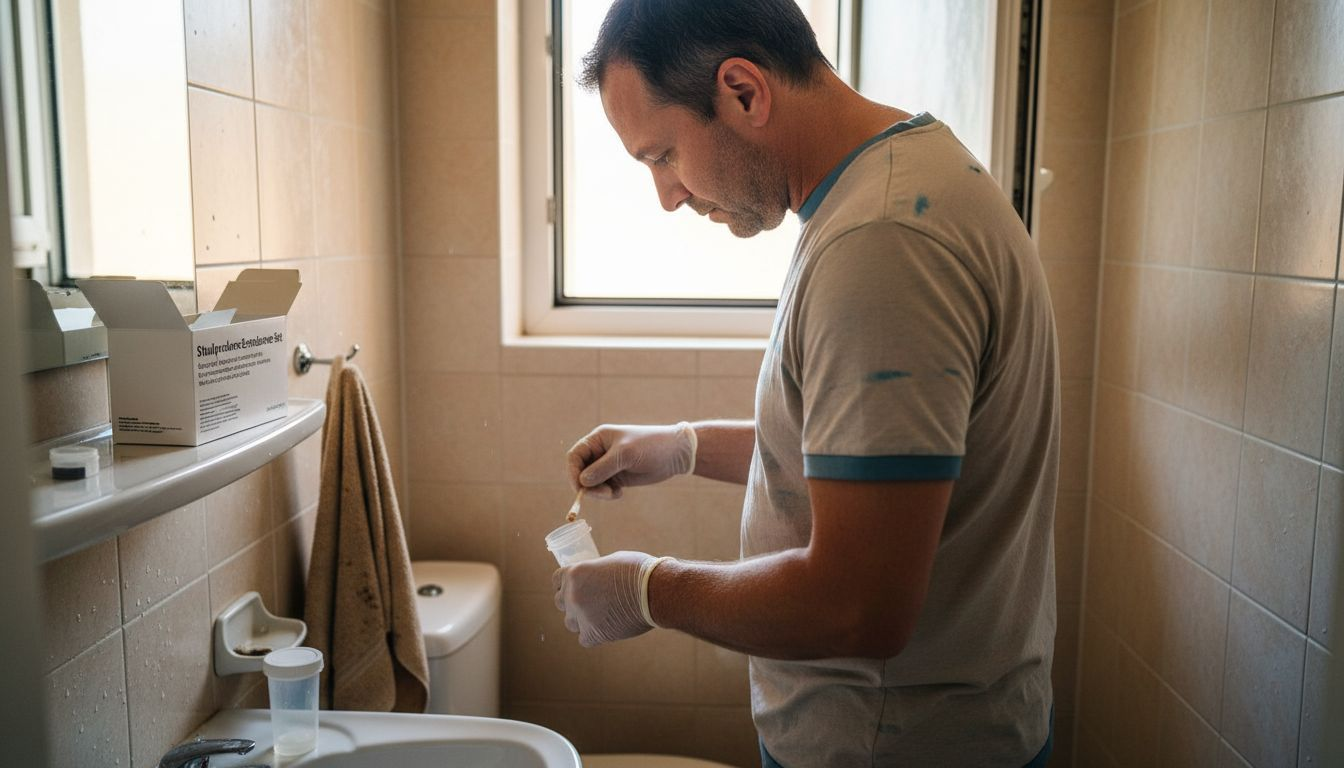
Properly collecting a stool sample is crucial for the accuracy of your microbiome analysis test. The process requires care and precision to ensure reliable results.
The following steps are important:
- Prepare a clean surface
- Carefully open the sample collection container
- Position the collection tray according to the instructions
- Collect the sample without contamination
Things to keep in mind when collecting the sample:
- Use the disposable gloves provided
- Ensure even sample collection
- Avoid contact with water or toilet water
- Seal the container immediately after collection
Important: Follow the instructions in the test kit precisely to ensure correct sample collection.
After collecting the sample, label the container according to the instructions and prepare it for shipping. Careful documentation is just as important as the sample collection itself.
Pro tip: Read the instructions for use several times and allow yourself enough time to proceed calmly and precisely.
Step 3: Package and ship the sample securely
After carefully collecting the sample, secure shipping is crucial for the quality of your microbiome analysis. Proper shipping ensures that your sample reaches the laboratory without being compromised.
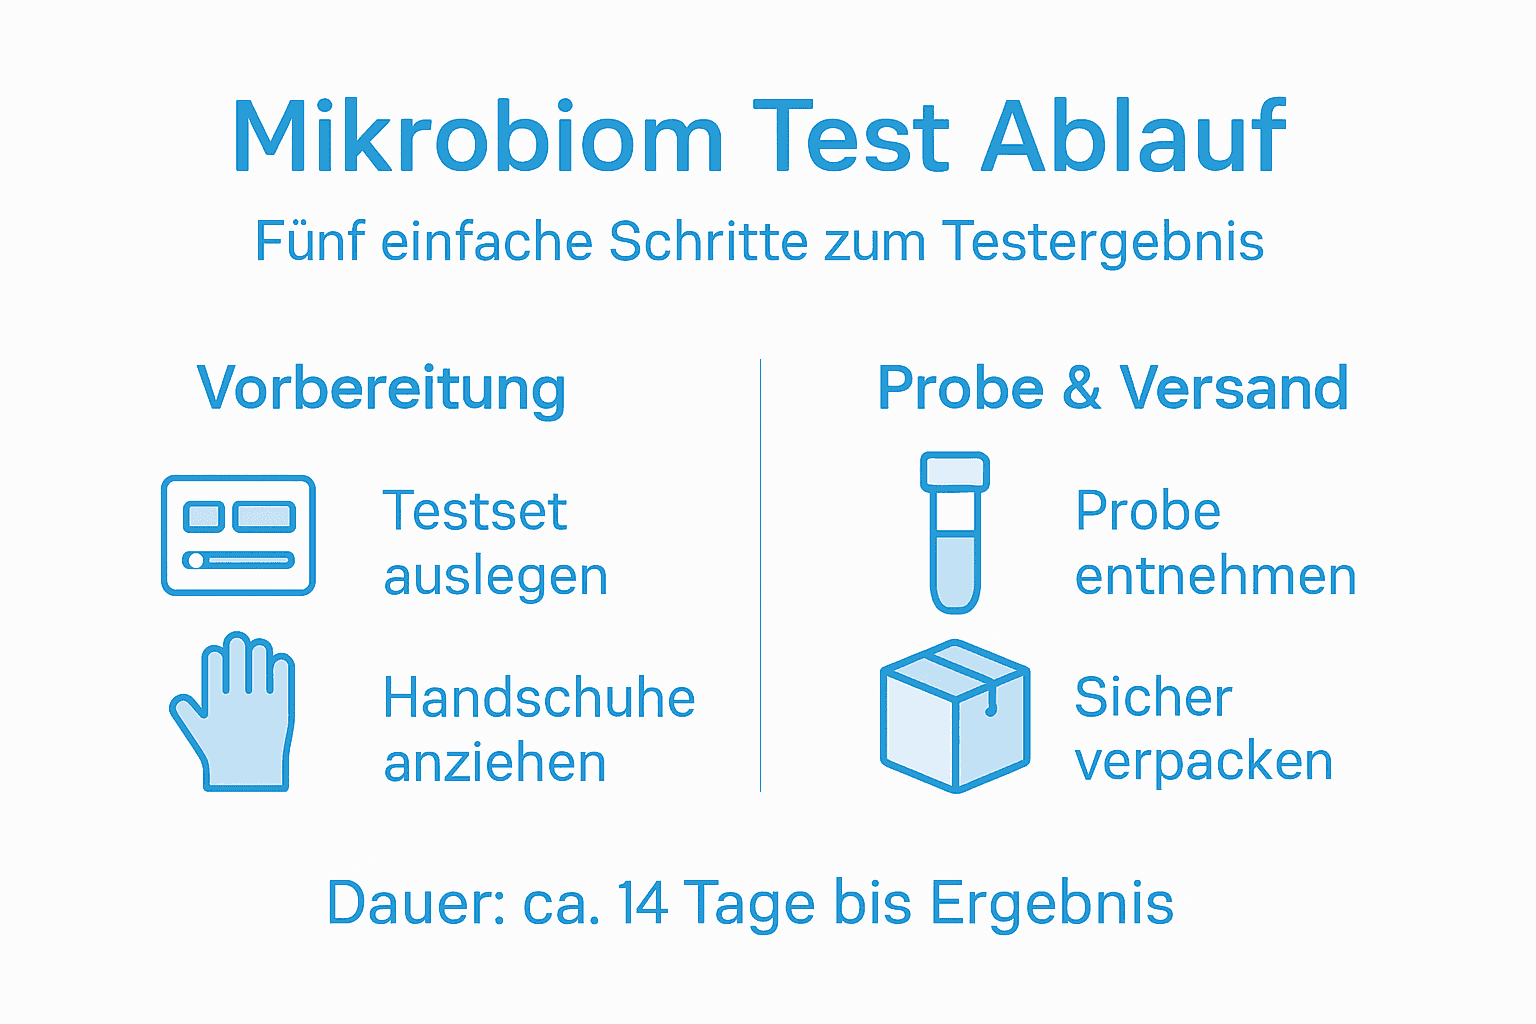
Shipping procedure:
- Check that the sample container is properly sealed
- Label the container with the supplied barcode
- Place the container in the special shipping bag
- Seal the bag carefully
Important shipping instructions:
- Keep the sample cool but do not freeze it
- Use the prepaid return envelope
- Avoid direct sunlight
- Send in the sample promptly
Important: Follow the specific shipping conditions in the test instructions.
Ideally, the shipment should be sent within 24–48 hours after sample collection to ensure the quality of the microbiological analysis.
Pro tip: Photograph the barcode before shipping as an additional safety measure.
Below is an overview of the most common mistakes when taking a microbiome test and how to avoid them:
| Common mistake | Possible impact | Preventive measure |
|---|---|---|
| Incomplete cleaning | Sample contamination | Wash your hands thoroughly |
| Incorrect storage | Invalid test result | Keep the sample cool |
| Late shipping | Breakdown of the bacterial flora | Ship within 48 hours |
| Missing label | Mix-up in the laboratory | Attach the barcode correctly |
Step 4: Check the analysis progress online
After shipping your microbiome sample, you can track the progress of your gut health analysis online. This gives you transparency and peace of mind throughout the testing process.
Steps for online tracking:
- Log in to your customer account
- Enter your individual sample tracking code
- Check the current processing status
- Track the individual analysis phases
Important online tracking information:
- Track your sample in real time
- Receive email notifications
- Check estimated processing times
- Stay informed about every analysis phase
Important: The tracking process ensures maximum transparency and traceability.
The analysis usually takes 10–14 business days. The online portal provides comprehensive insights into the progress of your analysis.
Pro tip: Store the tracking code in a safe place so you can access your results at any time.
Step 5: Interpret your individual results report
After the analysis is complete, you will receive a detailed laboratory test report that provides in-depth insights into your gut health. Interpretation requires attention and a structured approach.
Key aspects of interpretation:
- Understand the overall assessment of your microbiome
- Pay attention to bacterial diversity
- Identify strengths and areas for improvement
- Compare the results with previous values
Steps for interpreting the report:
- Read the introduction and overall assessment
- Analyze the detailed bacterial composition
- Review nutritional recommendations
- Review potential areas for action
Important: The report is a snapshot of your gut health, not a definitive diagnosis.
Focus on specific recommendations for action and nutrition-related tips. The report should motivate you, not cause concern.
Pro tip: If anything is unclear, consult a nutritionist or your general practitioner for a professional interpretation.
This table summarizes the information sources and options for evaluating results after the microbiome test:
| Information source | Function | Benefit |
|---|---|---|
| Online portal | Tracking and status updates | Transparency during analysis |
| Detailed results report | Interpretation of the gut flora | Personalized recommendations |
| General practitioner / nutritionist | Professional interpretation | Medical and nutritional advice |
Optimize your gut health with the right microbiome test from mybody®x
Professional at-home microbiome testing requires not only care when collecting and shipping the sample, but also high-quality analytical methods and clear reports. If you want to specifically support your gut and learn more about your individual bacterial composition, the Gut Flora Analysis – For a Healthy Gut Flora - mybody®x offers reliable, scientifically sound solutions. Avoid uncertain results through professionally conducted testing and rely on certified laboratories with clear recommendations for nutrition and lifestyle.
Take the opportunity to empower yourself to manage your health proactively and preventively with modern at-home health tests – Discover all tests - mybody®x. Start your journey toward greater well-being and lasting gut flora balance today. See for yourself the quality and transparency at https://mybody-x.com and take the first step toward a healthy future today.
Frequently asked questions
How do I prepare my workspace for the microbiome test at home?
To prepare your workspace for the microbiome test, choose a clean, well-lit area. Wash your hands thoroughly and arrange all test materials clearly to ensure a smooth process.
What steps should I follow when collecting the stool sample?
When collecting the stool sample, it is important to wear the provided disposable gloves and ensure that the sample collection container is not contaminated. Collect an even sample and seal the container immediately after collection to ensure accuracy.
How can I ensure that my microbiome sample is shipped correctly?
To ensure that your microbiome sample is shipped correctly, check that the sample container is properly sealed and label it with the barcode provided. Pack the container securely in the shipping bag and send it within 24–48 hours after collecting the sample.
How can I track the progress of my microbiome test analysis online?
To track the progress of your microbiome test analysis online, log in to your customer account and enter your individual sample tracking code. Check the current processing status and stay informed about every stage of the analysis.
What information does my microbiome test results report contain?
The results report for your microbiome test contains an overall assessment of your microbiome, a detailed bacterial composition, and specific dietary recommendations. Read the report carefully to identify strengths and opportunities to improve your gut health.
What should I do if I have questions about my test results?
If you have questions about your test results, it is best to consult a nutritionist or your family doctor. They can help you interpret the results and suggest appropriate steps to improve your gut health.
Recommendation
- Gut flora examination: Your complete guide to microbiome analysis – mybody®x
- Microbiome test: Your guide to better gut health – mybody®x
- Gut analysis test: Find your path to better gut health – mybody®x
- Microbiome test explained: How gut flora analysis works – mybody®x
- Integrating wellness offerings guide: Innovative practice solutions

Share now:
Intestinal cleanse quiz: Find out how to boost your well-being from within
Function of microbiome analysis: The basis for gut health