

How to perform a self-test correctly: comprehensive guide 2026
Many health-conscious individuals face a common problem: they want to perform DNA, microbiome, or nutritional tests at home but receive inconsistent or difficult-to-interpret results. The cause is often incorrect sample collection, insufficient preparation, or a lack of understanding of the analysis methods. This guide provides practical steps for correctly conducting self-tests, helps avoid typical errors, and shows you how to obtain meaningful results. You will learn what preparations are necessary, how to collect samples step by step, and how to use your results effectively.
Table of contents
- Preparation for the self-test
- Step-by-step instructions for sampling
- Interpreting and meaningfully using results
- Common mistakes and how to avoid them
- Discover our at-home testing kits
- Frequently asked questions about how to perform the self-test correctly
Key takeaways
| Point | Details |
|---|---|
| Error-free sampling | Correct sampling and storage are essential for meaningful test results. |
| Preparation is key | Wait at least 4 weeks after taking antibiotics and have all materials ready in advance. |
| Interpretation with caution | Microbiome tests show variability and do not replace a medical diagnosis. |
| Standardization is still lacking | A professional discussion of the results significantly improves understanding. |
| Practical application | The results help to optimize diet and lifestyle in a targeted manner. |
Preparation for the self-test
Thorough preparation is the foundation for reliable test results. Before you begin collecting samples, you should gather all the necessary materials and create optimal conditions. Professional test kits typically include sterile sampling equipment, shipping tubes, stabilization solutions, and detailed instructions. You will also need personal information sheets to document relevant information such as medication use, dietary habits, and any current symptoms.
Personal preparation plays an equally important role. Hygiene is paramount: Wash your hands thoroughly with soap and, if possible, use disposable gloves during sample collection. If you have recently taken antibiotics, you must wait at least four weeks before properly performing a microbiome test . Antibiotics significantly alter the bacterial composition of the gut and thus distort the analysis results. You should also pause other medications, such as probiotics, laxatives, or anti-inflammatory drugs, for a few days before sample collection, if possible.
Standardizing sample collection minimizes measurement deviations and improves the comparability of your results with reference values. Choose a time when you are relaxed and have enough time. Avoid stress or physical exertion immediately before collection. For stool samples, morning collection is recommended, as bacterial activity naturally fluctuates throughout the day. The lack of standardization affects the comparability of many commercial microbiome tests, making careful preparation all the more important.
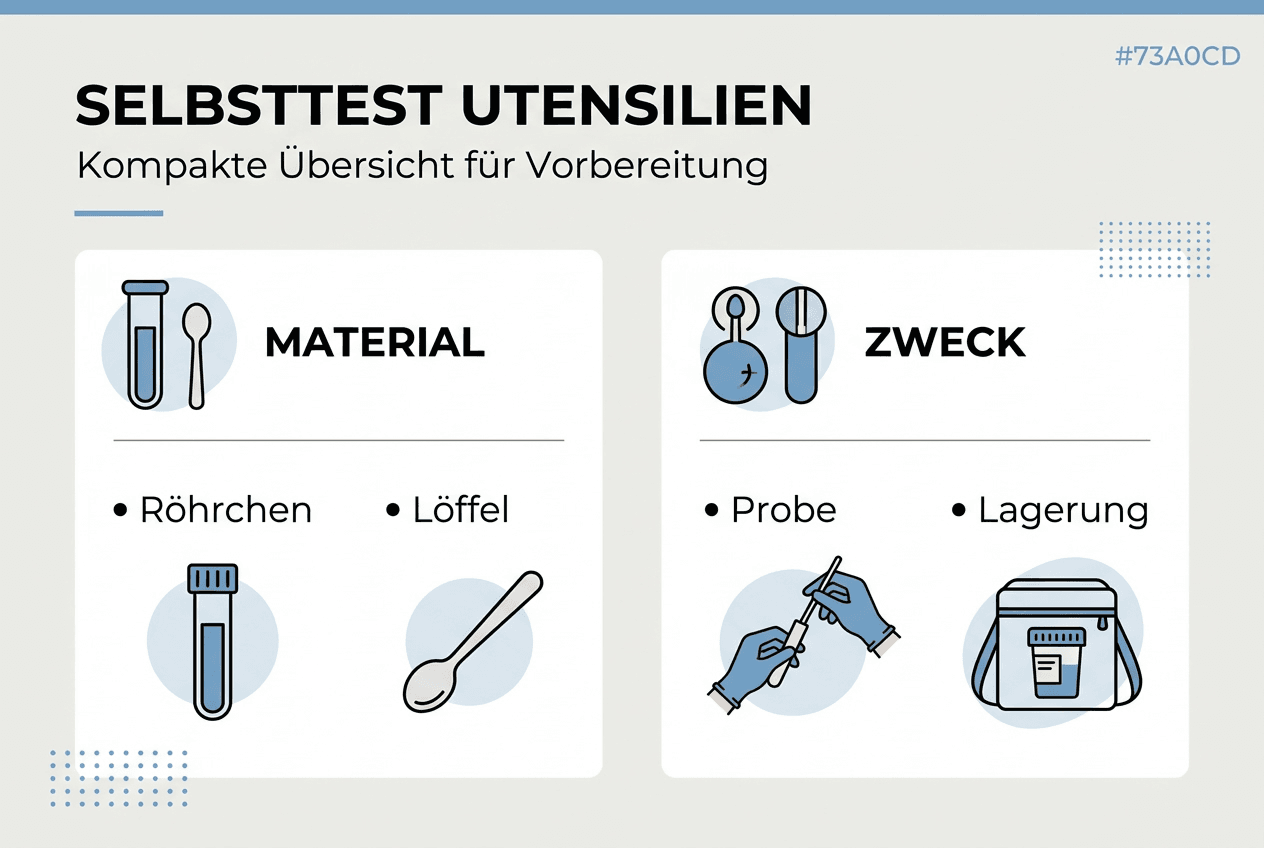
Necessary utensils and preparation steps:
| utensil | Purpose | Preparation |
|---|---|---|
| Sterile sample tube | Sample intake | Do not open before use |
| Stabilization solution | Preservation of the sample | Check room temperature |
| Disposable gloves | Hygiene and contamination protection | Prepare before the start |
| Shipping bag | Safe transport | Check address and barcode |
| Registration form | Documentation of relevant data | Fill out completely |
Pro tip: Prepare all materials the night before and read the instructions thoroughly several times. This will help you avoid time pressure and allow you to carry out the sampling calmly. Note down any questions you may have and clarify them in advance with the supplier's customer service.
Step-by-step instructions for sampling
Correct sample collection is crucial for the quality of your test results. Follow these systematic instructions to avoid common errors and ensure meaningful analyses.
1. Preparing for sampling: Wash your hands with soap and warm water for at least 20 seconds. Dry them with a clean towel or use disposable gloves. Place all materials on a clean, disinfected surface. Open the sample tube only immediately before taking the sample to avoid contamination. Check that the stabilizing solution is present in the tube and in the correct quantity.

2. Sample Collection: For stool samples, use the enclosed sample spoon or collection aid to collect a small amount of stool from different areas. Avoid contact with toilet water or urine, as this will contaminate the bacterial composition. Fill the tube to the marked line, but do not exceed it. For saliva samples for DNA testing, collect the saliva immediately upon waking, before eating, drinking, or brushing your teeth. Sample collection is easy to perform at home if you follow the instructions carefully. Immediately close the tube tightly and shake gently to mix the sample with the stabilizing solution.
3. Secure Packaging and Shipping: Label the sample tube with your name and the date it was taken. Place it, along with the fully completed registration form, in the prepared shipping bag. Seal the bag securely and take it to the post office the same day. Most providers recommend shipping within 24 hours of collection to ensure sample quality. If longer waiting times are unavoidable, store the sample in the refrigerator at 4 to 8 degrees Celsius.
Common mistakes and how to avoid them:
- Contamination from toilet water or urine: Use a collection tray or special collection aids.
- Sending the sample too late: Arrange shipping on the day of collection.
- Failure to observe the prescribed rest periods after antibiotics: Wait at least four weeks.
- Insufficient sample volume: Fill the tube to the mark.
- Missing or incomplete documentation: Please fill in all fields of the registration form.
Pro tip: Refrigerate the sample immediately after collection and arrange for shipping within the recommended timeframe. Take a photo of the barcode on the sample tube as a precaution in case of any queries. Avoid collecting samples on Fridays or before public holidays to prevent unnecessarily long transit times.
Interpreting and meaningfully using results
Following the laboratory analysis, you will receive a detailed report on your individual bacterial composition, genetic markers, and nutrient status. Interpreting this data requires an understanding of the biological relationships and the limitations of the analytical methods. Microbiome analyses, for example, reveal the diversity and distribution of different bacterial strains in your gut. This information provides insights into digestive function, immune activity, and potential imbalances.
However, the results are subject to natural fluctuations and should not be considered in isolation. Factors such as diet, stress, sleep quality, and physical activity continuously influence the bacterial composition. A single test provides a snapshot, not an absolute diagnosis. The lack of medical standardization for microbiome tests means that different laboratories use different analytical methods and reference ranges. Interpretations should therefore be treated with caution and always considered within the context of your personal health history.
Practical use of the test results:
- Identifying dietary influences: Recognize which foods promote or burden your gut health.
- Lifestyle optimization: Targeted adjustments to sleep, exercise, and stress management.
- Understanding digestive problems: Find possible links between bacterial composition and symptoms
- Progress monitoring: Repeat tests after a few months to document changes.
- Targeted supplementation: Supplement missing nutrients or probiotics based on the analysis results.
The importance of a professional consultation cannot be overstated. Many providers offer audio consultations or personal meetings where experts explain your results in detail and provide individualized recommendations. This consultation helps you to correctly interpret the data and derive concrete action steps. Understand the science behind microbiome analysis to make informed decisions about your health. Holistic physicians use such analyses as a complementary tool, not as the sole basis for treatment decisions.
Microbiome analyses can provide initial indications of imbalances and help optimize diet and lifestyle. However, they do not replace a medical diagnosis and should always be interpreted in consultation with a healthcare professional.
Use the results as a starting point for targeted changes. Document your symptoms, eating habits, and lifestyle over several weeks. This will allow you to identify correlations and monitor the effectiveness of your adjustments. Further information on microbiome analysis in detail will help you better understand the possibilities and limitations of this method.
Common mistakes and how to avoid them
Even with careful preparation, errors can occur that compromise the quality of your test results. Being aware of common pitfalls will help you avoid them and obtain meaningful analyses.
Sample collection errors: Contamination by foreign substances is the most common problem. Toilet water, urine, cleaning agents, or cosmetics can alter the bacterial composition and lead to misleading results. Use only the sterile equipment provided and do not touch the inside of the sample tube with your fingers. The timing of the collection also plays a role: conditions are not optimal immediately after eating or during acute diarrhea. An insufficient sample volume means the laboratory cannot perform a complete analysis. Therefore, always fill the tube to the indicated mark.
Improper sample storage and shipping delays: Bacterial activity changes continuously after collection. Without stabilization solution or if stored incorrectly, sensitive bacterial strains die off, while more robust ones multiply. This significantly distorts the true picture of your gut flora. Store the sample at room temperature for a maximum of 24 hours. Refrigeration is essential for longer waiting times. Avoid shipping delays over weekends or holidays by planning ahead. Insufficient standardization leads to varying results in home tests, which is why every additional source of error further reduces the test's reliability.
Incomplete completion of the accompanying forms: Many users underestimate the importance of the documentation. Information about medication use, dietary habits, symptoms, and pre-existing conditions is essential for interpreting the results. Without this information, experts cannot put the data into the correct context. Please take your time to complete all fields carefully. If you are unsure, contact customer service before sending in the sample.
Be mindful of test results: Tests provide guidance, not definitive diagnoses. Many users interpret deviations from reference values as signs of illness and take drastic measures on their own. This can be counterproductive. Always discuss abnormal findings with qualified professionals. Avoid taking high doses of probiotics or making radical dietary changes without professional guidance.
Tips for proper implementation and provider selection:
- Choose providers with ISO-certified laboratories and transparent analytical methods.
- Check whether personal consultations or audio meetings are included in the service.
- Compare the differences between microbiome tests from different providers.
- Pay attention to data protection and pseudonymized sample processing.
- Read testimonials and examine the scientific basis of the methods.
By consciously avoiding errors and choosing reliable providers, you can maximize the benefits of your self-tests. Consider the results as part of a holistic health concept that includes regular medical checkups, a balanced diet, and a healthy lifestyle.
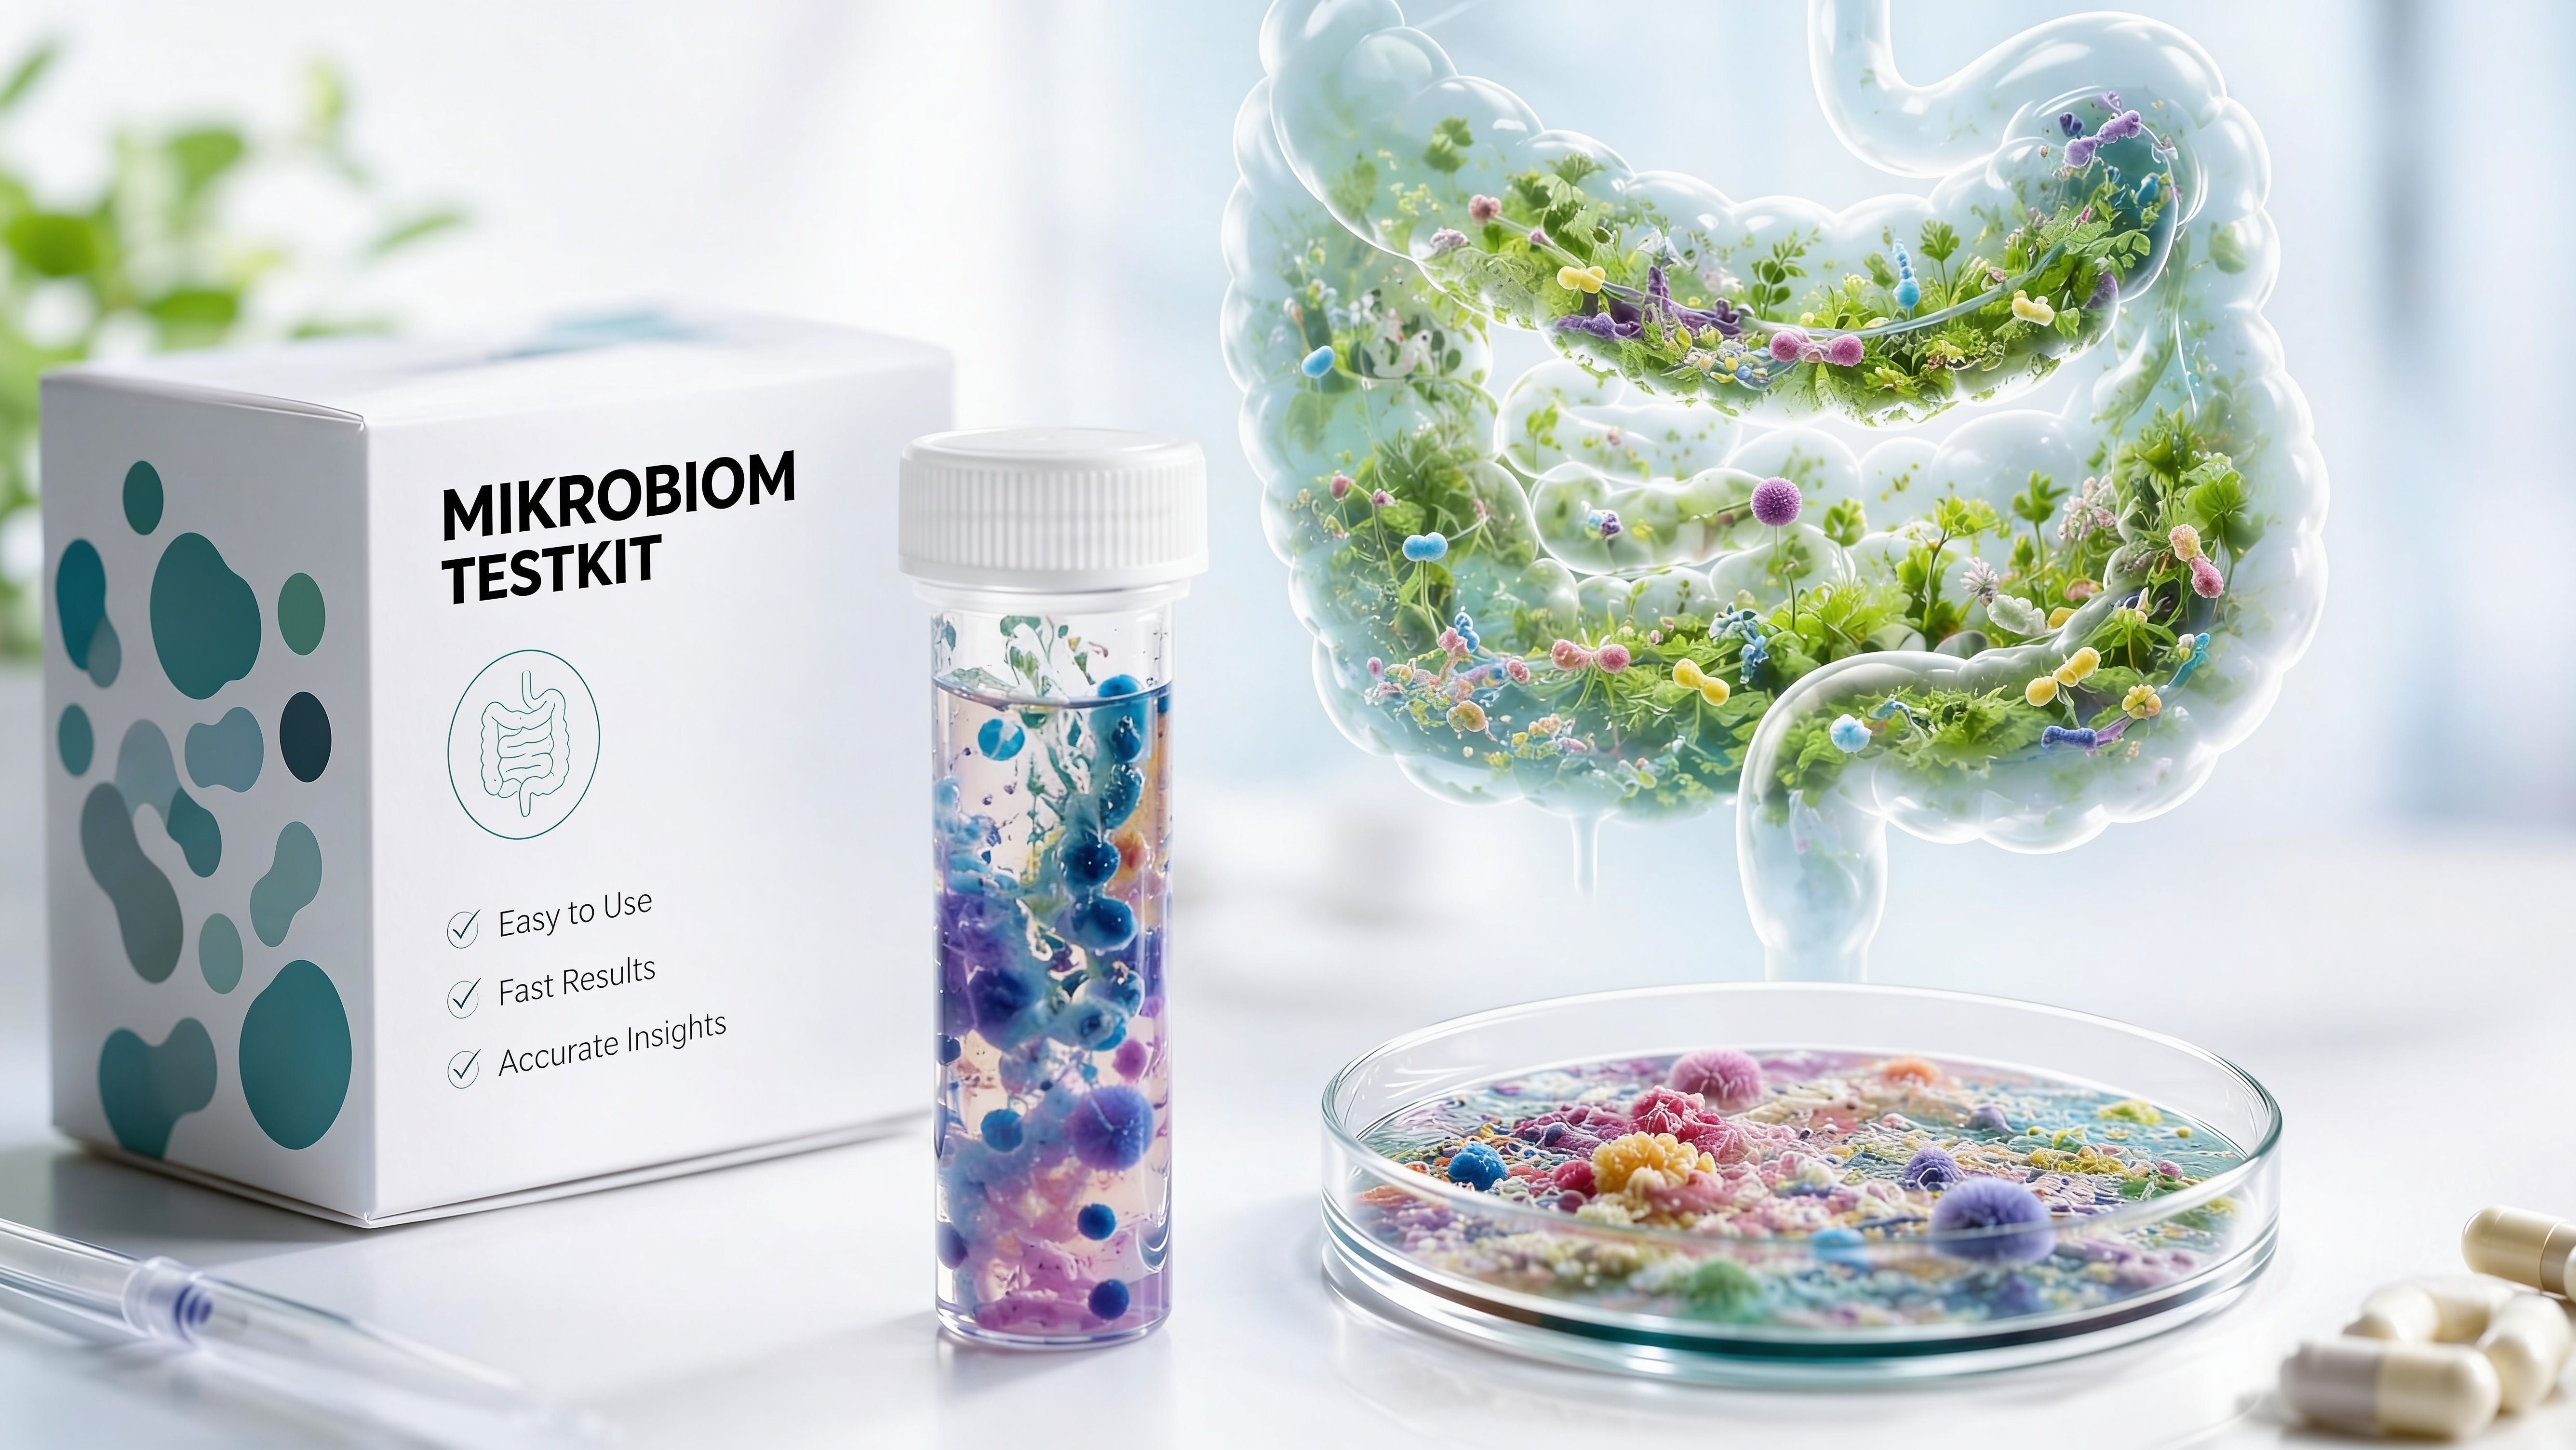
Discover our at-home test kits
Do you want to optimize your health in a self-determined and scientifically sound way? Our professional test kits allow you to conveniently analyze your microbiome, DNA, and nutrition at home. Each kit contains sterile sample collection tools, detailed instructions, and all the materials needed for secure shipping. After laboratory analysis in our ISO-certified partner lab, you will receive a detailed report with personalized nutritional recommendations and lifestyle tips. Benefit from personal consultations to interpret your results, helping you to correctly interpret the data and derive concrete actions. With over 11,300 satisfied customers and an average rating of 4.77 stars, mybody® is one of the established providers in the field of personalized health analyses. Rely on transparent analysis methods, the highest level of data protection in accordance with GDPR, and expert support throughout the entire process. Get started now and gain a better understanding of your health.
Frequently asked questions about how to perform the self-test correctly
When is the best time for a self-test?
The optimal time for testing is at least four weeks after a course of antibiotics, as these medications significantly alter the bacterial composition. Avoid scheduling tests immediately after significant changes in medication or diet, gastrointestinal infections, or diarrhea. Choose a quiet time when you are relaxed and have enough time for careful sample collection.
How do I prevent contamination during sampling?
Wash your hands thoroughly with soap for at least 20 seconds before taking the sample and use disposable gloves if possible. Use only the sterile instruments and packaging provided in the test kit and do not touch the inside of the sample tube. Keep the sample area clean and avoid any contact with toilet water, urine, cleaning agents, or cosmetics. Open the sample tube only immediately before taking the sample.
Are the results of microbiome tests medically binding?
No, microbiome tests are not medical diagnoses, but rather tools to help optimize diet and lifestyle. The German Society for Gastroenterology, Digestive and Metabolic Diseases (DGVS) points out that microbiome tests are not yet a medical standard and that interpretation should be approached with caution. Always discuss abnormal results with qualified professionals to avoid misinterpretations and self-treatment.
How long does it take to evaluate the tests?
The analysis typically takes between five and fourteen days after the sample arrives at the laboratory. Timeframes may vary due to shipping times, laboratory workload, or the complexity of the analysis. You will receive an email notification as soon as your report is available. If there are any delays, please contact the provider's customer service.
Can I discuss the test results with a doctor?
Yes, a consultation with a doctor can provide additional insights and help to place the results in the context of your overall health history. Holistic physicians use microbiome analysis as a complementary tool for treatment decisions. Personal consultation significantly enhances the understanding of the results and enables informed decisions regarding your health.
Recommendation
- Self-test expiry 2026: How to use personalized analyses – mybody®x
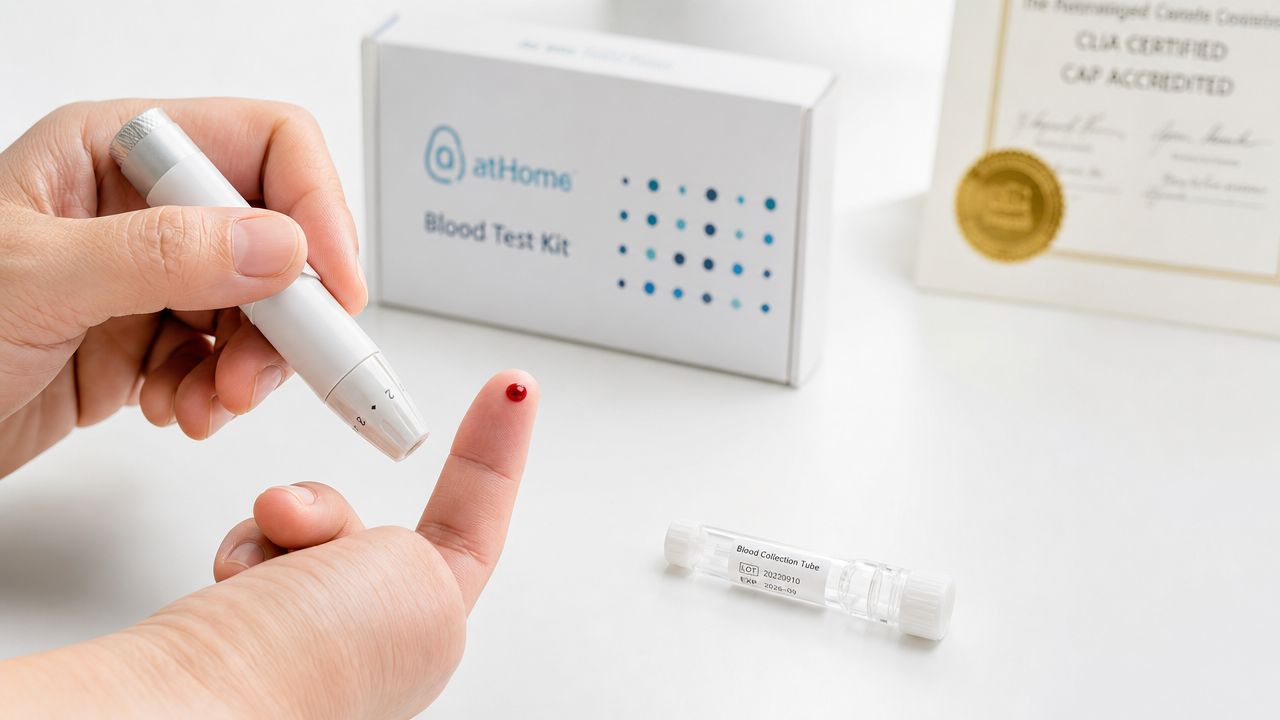
- Perform a blood test at home: Instructions for accurate results – mybody®x
- Self-tests: Everything you need to know about medical home tests – mybody®x
- Do your own blood test: Your guide to greater clarity – mybody®x
- Rapid Tests - Self-Testing - mybestpharmacy.net | Mybestpharmacy.net | Online Pharmacy
- Create an individual training plan for 2026: Achieve your goals

Share:
Nutrition Type Test 2026: Your Ideal Eating Type
Metabolism Weight Loss: Your Guide for 2026