
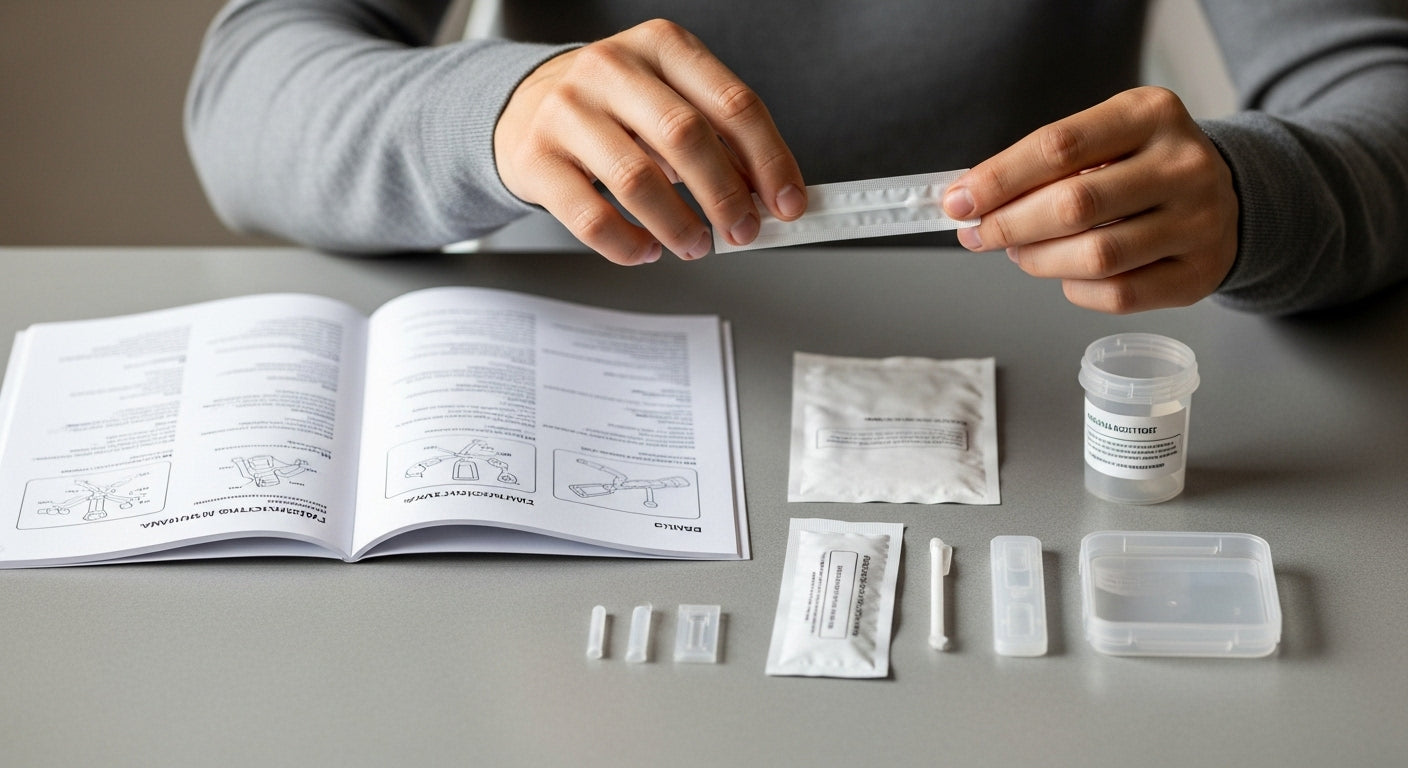
Step-by-step DNA analysis: Understanding personalized health data
DNA tests are fascinating more and more people because they promise personalized insights into health and ancestry. Yet many are surprised. Although more than 80 percent of errors in the results are caused by simple sample contamination, most users pay little attention to proper preparation. This is exactly where it is decided whether a simple saliva sample will produce valuable results or not.
Table of contents
- Step 1: Prepare your DNA test kit
- Step 2: Collect your DNA sample
- Step 3: Send your sample to the laboratory
- Step 4: Wait for the analysis results
- Step 5: Interpret the results
- Step 6: Use the insights you have gained
Brief summary
| Main point | Explanation |
|---|---|
| 1. Carefully preparing the kit | Carefully studying the instructions ensures precise sample collection and proper handling. |
| 2. Collecting the sample correctly | Avoid contamination by eating or touching the swab surface before collection. |
| 3. Properly shipping the sample | Complete labeling and shipping within the specified time limits ensures the integrity of the sample. |
| 4. Being patient during the analysis period | Use the waiting time to learn about genetic health and make a note of any questions. |
| 5. Actively implementing the results | Develop personalized health strategies based on your genetic insights for a better quality of life. |
Step 1: Prepare your DNA test kit
Preparing your DNA test kit is crucial for obtaining precise and reliable results. This first step involves gathering all the necessary materials and creating optimal conditions for collecting the sample. Care and attention during this phase guarantee the quality of your analysis.
Take sufficient time to study the kit carefully. Every DNA test is slightly different, but generally you will need a few standard items: the provided sample collection kit, instructions, identification labels, and the return envelope. Our DNA analysis guide provides additional background information if you would like more details.
Before collecting the actual sample, you must make some important preparations. First, wash your hands thoroughly with soap and clean water to avoid contamination. Avoid eating, drinking, or smoking immediately before collecting the sample. These activities can leave saliva residue or chemical traces that could distort the test result.
Read the enclosed instructions very carefully. Pay particular attention to:
- The exact sample collection method
- Time limits for submitting the sample
- Specific storage instructions
Prepare a clean, well-lit workspace where you can collect the sample without interruptions. Place all materials within reach and check that the sample collection container is properly labeled and ready. Important: Do not touch the inside of the collection container with your hands to prevent contamination.
With these preparations, you are optimally equipped for the next step and can ensure that your DNA sample meets the highest quality standards.
Below you will find an overview table of the most important materials required to correctly perform a DNA test according to the instructions.
| Materials | Purpose | Special instructions |
|---|---|---|
| Sample collection kit | Collecting the DNA sample | Do not touch the inside |
| Instructions | Guidance through all steps | Read thoroughly before starting |
| Identification labels | Sample identification | Attach immediately after collection |
| Return envelope | Shipping the sample to the laboratory | Use immediately after sample collection |
| Soap and water | Cleaning your hands before collection | Wash thoroughly to prevent contamination |
| Pen | Labeling and documentation | Handwritten and legible |
Step 2: Collect your DNA sample
Sample collection is the crucial moment when your individual genetic information is captured. This step requires precision and care to ensure a high-quality DNA analysis. The quality of your sample directly determines the accuracy of the test results.
According to research findings on genetic testing, proper sample collection is crucial for accurate analysis. Most DNA tests are based on a buccal swab, a simple and non-invasive method of collecting material.
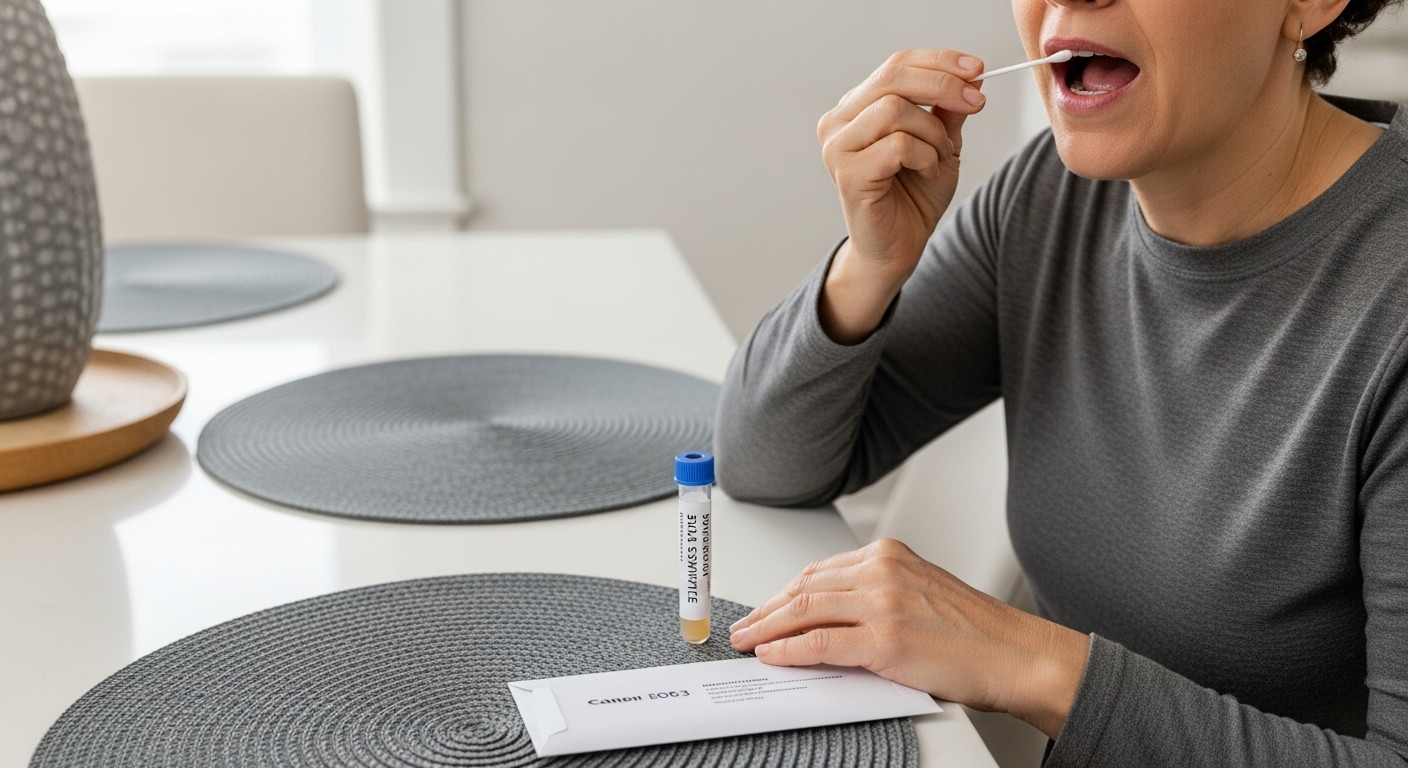
Prepare for sample collection by refraining from eating or drinking for at least 30 minutes before the test. This prevents contamination and ensures that your saliva sample is pure and uncontaminated. Carefully remove the swab from its packaging without touching the cotton tip. Important: Avoid any direct contact with the swab surface to prevent contamination.
For successful sample collection, follow these instructions:
- Open your mouth wide
- Gently but firmly rub the swab three to four times over the inside of both cheeks
- Gently rotate the swab to collect sufficient cellular material
Make sure to seal the swab in the provided container immediately after collection. Label the container at once with the included identification labels to prevent mix-ups. Our DNA nutrition test provides further background information on sample analysis.
After collecting the sample, immediately place the sealed container in the provided return envelope. Store the sample in a cool, dry place and send it promptly.
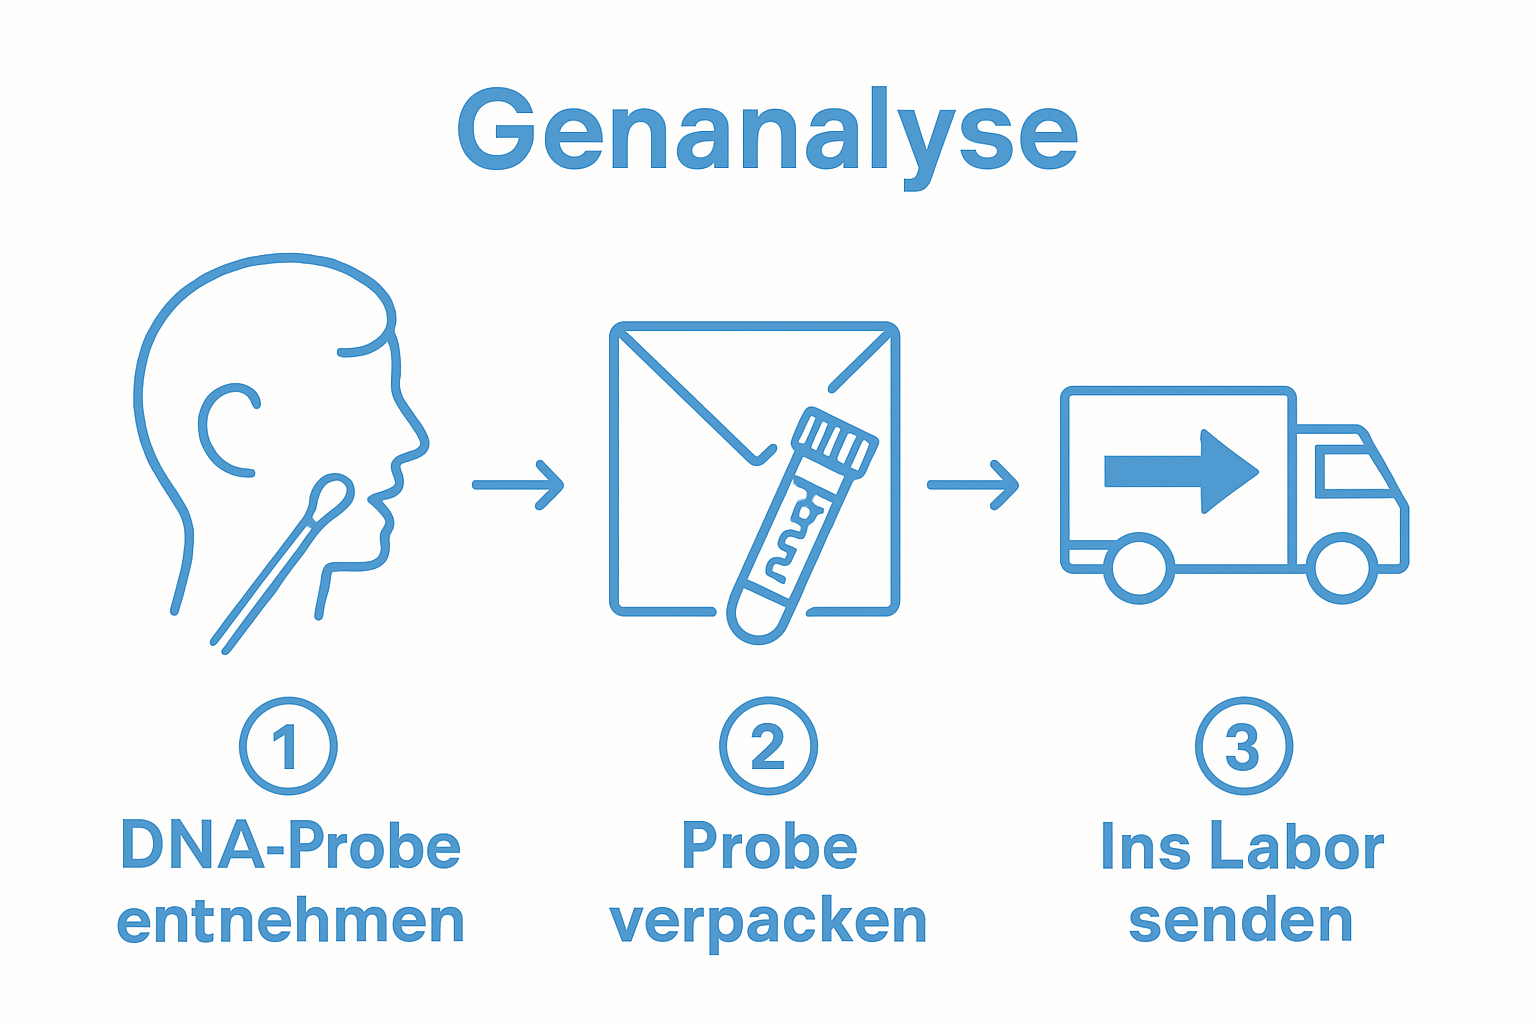 Be sure to observe the time limits for sending the sample to preserve sample quality.
With these careful steps, you have prepared an optimal DNA sample that meets scientific quality standards and promises meaningful results.
Step 3: Send your sample to the laboratory
After carefully collecting the sample, the crucial moment of sending it to the laboratory now begins. This step is more than just mailing a package—it transfers your personal genetic information into the hands of highly specialized scientists. The correct shipping method and documentation are crucial to maintaining the integrity of your sample.
According to genome research institutes, DNA analysis requires precise handling from collection through analysis. First, check that all labels and identification numbers are complete and correct. Incorrect or incomplete labeling can lead to delays or even the loss of your valuable sample.
Preparing the shipment is a multistep process. Completely seal the sample container according to the included instructions. Make sure no liquid can leak out. Carefully place the sealed container in the provided return envelope. Important: Avoid extreme temperatures or direct sunlight during transport.
For smooth shipping, we recommend:
- Send the return envelope immediately after packaging the sample
- Send it within the specified time frame
- Use tracking if possible
Before sending the envelope, photograph the tracking number and proof of postage. This documentation serves as your personal record and may be helpful if any questions arise. How our DNA tests work so easily provides additional information about the analysis process.
After shipping, an exciting waiting period begins for you. The laboratory technicians will now examine your sample using cutting-edge analytical methods. Depending on the scope of the test, this may take several days to several weeks. Keep the tracking information and be patient—you will soon gain insights into your individual genetic characteristics.
By sending your sample, you have completed the most important step toward personalized health analysis. Your DNA's scientific journey now begins in the laboratory.
Below you will find a checklist summarizing the most important points for sending your DNA sample, so that no crucial steps are forgotten during shipping.
| Check | Completed (✓/✗) | Special considerations |
|---|---|---|
| Sample container properly sealed | No liquid may leak out | |
| Identification labels attached | Label immediately after collection | |
| All instructions followed | Do not skip any steps | |
| Return envelope used | Use the original envelope | |
| Shipped promptly | Within the recommended timeframe | |
| Tracking number noted | For personal record-keeping | |
| Sample stored in a cool, dry place before shipping | No exposure to sunlight or heat |
Step 4: Wait for the analysis results
The waiting period after sending your sample is a time filled with excitement and anticipation. During this stage, your genetic information undergoes a highly complex analysis process that provides insights into your individual biological characteristics. Patience during this stage is the key to valuable insights.
According to scientific genomic research, the analysis may take anywhere from several days to several weeks, depending on its scope and level of detail. During this time, your sample undergoes various precise examination stages using state-of-the-art laboratory technologies.
To make good use of the waiting period, we recommend a few helpful strategies. Keep your contact information up to date and regularly check your emails and mailbox. Most laboratories will inform you digitally about the progress of your analysis. Our analysis booklet can already give you some initial guidance on what to expect from the results.
To make the waiting period productive, you can:
- Learn about genetic health aspects
- Make notes about your current health habits
- Collect questions you would like to ask when you receive the results
Important to know: Reputable laboratories communicate transparently and promptly. If you have not received a response after two weeks, contact customer service. Keep all shipping documents and your personal tracking number so that you can quickly provide information if needed.
The waiting period is more than just passive waiting—it is an opportunity for self-reflection and preparation. Your genetic data will be carefully analyzed during these weeks to provide you with tailored health insights. Stay patient and positive—soon you will gain valuable insights into your individual genetic makeup.
Step 5: Interpret the results
The arrival of your DNA analysis results marks a significant moment in your health journey. This step requires more than just superficial reading—it is about gaining a deep understanding of your individual genetic characteristics. Interpretation is the key to translating scientific data into practical insights.
According to the genetic counseling guidelines, test results should not be considered in isolation, but holistically. Take sufficient time to study the results calmly and with concentration. Ideally, do so in a quiet environment where you can devote your full attention to the documents.
First, take note of the overall structure of your report. Professional reports are generally clearly organized and include explanations of scientific terminology. Our DNA test for nutrition offers additional guidance for interpretation.
For an effective analysis of the results, we recommend:
- Reading through the results several times
- Researching unclear terms
- Writing down open questions
- Seeking professional advice if needed
Important to understand: Genetic results are not diagnoses, but statements of probability. They show your individual predispositions and risks, not absolute certainties. Consider the results a personal health compass, not an immutable destiny.
Pay particular attention to the recommendations and action options in your report. These are often tailored to your genetic characteristics and offer concrete starting points for lifestyle adjustments. Whether dietary recommendations, exercise strategies, or preventive healthcare, the results provide valuable personalized insights.
Handling the results professionally also means not panicking, but thinking constructively. Genetic information is a tool for optimizing your health, not a verdict on your destiny. Stay positive, informed, and proactive.
Step 6: Use the insights you have gained
Genetic insights are more than just scientific data—they are a personal roadmap for your health and quality of life. This crucial step transforms theoretical knowledge into practical, fulfilling options for action. The art lies in integrating this information wisely and constructively into your everyday life.
According to medical research findings, genetic information can significantly support medical decisions regarding prevention and individualized health care. Begin with an honest self-assessment: Which aspects of your health would you specifically like to improve?
Systematic implementation requires a precise and targeted approach. The importance of personalized nutrition highlights how individual health strategies can be. Translate your genetic insights into specific areas of action such as nutrition, exercise, stress management, and preventive care.
For effective implementation, we recommend:
- Defining specific health goals
- Planning small, gradual changes
- Regularly reviewing your progress
Important to note: Genetic results are statements of probability, not absolute determinants. They show your individual risks and potential, not your unchangeable fate. A healthy lifestyle can positively influence genetic predispositions.
It is best to discuss your insights with your primary care physician or a health professional. Work together to create a personalized health plan that takes your genetic information into account. Document your changes and be patient with yourself.
The journey of optimizing your health is a continuous process. Your DNA analysis is not an endpoint, but a valuable guide. Stay curious, open-minded, and proactive—your health is your most valuable resource.
Make health insights part of your new everyday life
You have now learned how a step-by-step DNA analysis helps you truly understand your individual health data. Headings such as “Preparing a DNA sample,” “Interpreting the analysis correctly,” and “Using insights effectively” show that many people are unsure how to derive precise, practical benefits from scientific results. The question often remains how to move from complex genetic values to concrete improvements in nutrition, performance, and long-term health.
This is exactly where mybody®x comes in: With certified DNA metabolism tests, you can effortlessly turn your results into practical recommendations. You get not just an analysis, but also tailored tips for nutrition, weight management, or performance enhancement. Your data is safe with us, the process is easy to complete from home, and our specialized team supports you from sample collection through implementation. Explore our complete test overview now and take advantage of putting your genetic insights into practice immediately. Take the first step today—for a healthier future tailored precisely to you.
Frequently Asked Questions
How do I prepare my DNA test kit?
First, wash your hands thoroughly and study the kit carefully. Make sure all materials, such as the sample collection kit, instructions, and return envelope, are ready. Avoid eating or drinking before collecting the sample.
How do I collect my DNA sample correctly?
To collect a cheek swab, open your mouth wide and gently rub the swab over the inside of both cheeks. Be careful not to touch the swab with your hands, and immediately seal and label the sample in the container.
What should I bear in mind when sending my DNA sample?
Seal the sample container according to the instructions and avoid extreme temperatures during transport. Send the sample promptly and record the tracking number for your own records.
How do I interpret the results of my DNA analysis?
Take the time to read the results thoroughly and look up any unclear terms. The results are probability statements and should be considered in the context of your health. If needed, seek professional advice.
Recommendation
- DNA Analysis for Weight Loss: Find Your Path to Your Feel-Good Weight – mybody®x
- Your Personalized Nutrition: Why a Diet Doesn't Work – mybody®x
- DNA Analysis: Your Personal Key to Health and Nutrition – mybody®x
- DNA Test for Nutrition: Your Personal Guide to Optimal Nutrition – mybody®x
- Understanding Why Test Multiple Biomarkers for Health Insights – Lola Health



Share now:
The Benefits of DNA Analysis: Simple Explanations
Omega-3 fatty acids explained for the heart, brain, and skin