
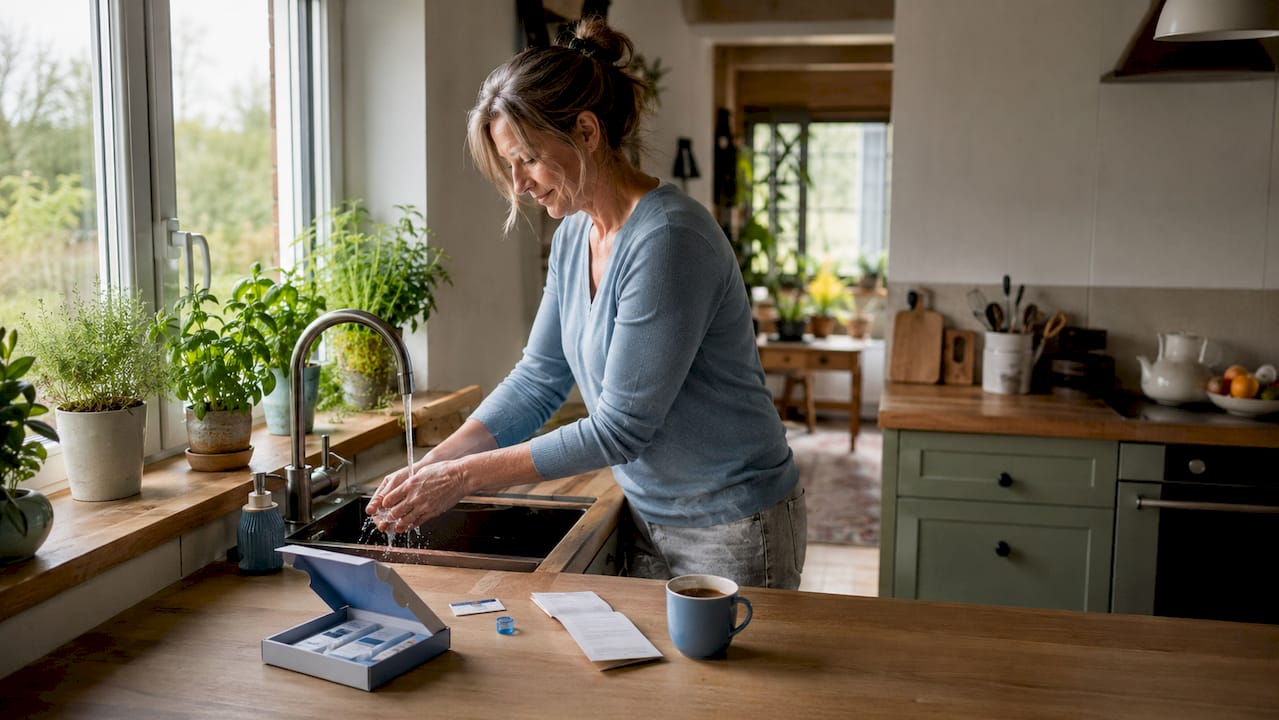
Dried blood spot test: The process and steps explained simply
A dried blood spot test, known technically as a DBS test (Dried Blood Spot), is a method of collecting a blood sample in which a few drops of capillary blood are dried on filter paper and then analyzed in a laboratory. You prick your own finger, let the blood drip onto a special card, and mail the dried sample to the laboratory. Dried blood spot tests are established methods for metabolomics and screening various metabolic products. The results are usually available digitally after 1–3 weeks. Anyone who wants to understand the dried blood spot test process step by step will find a clear, practical guide here.
1. What you need for the dried blood spot test
The dried blood spot test process begins long before the first prick. You need the right materials; otherwise, the sample quality will suffer.
A typical test kit contains the following components:
- Filter card (also called a dried blood spot card): specially coated paper with marked circles for the blood drops
- Lancet: a small device for pricking the finger, usually with a safety mechanism
- Disinfectant or alcohol swab for cleaning the finger
- Plaster for after collecting the sample
- Return envelope with the laboratory's return address
- Instructions with a barcode or sample number for identification
To prepare, wash your hands thoroughly with soap and water, but do not apply cream. Cream on the finger prevents effective blood collection and can contaminate the sample. Also pay attention to the room temperature. Blood flows less well when your hands are cold. A warm cloth or briefly rubbing your fingers together can help.
Pro tip: Warm your finger for about two minutes before pricking it, using a hot-water bottle or warm water. This noticeably improves circulation and makes collecting the sample much easier.
Store the test kit in a dry place at room temperature until use. Moisture damages the filter card and makes the sample unusable.
2. Disinfecting and preparing the finger
Disinfect the chosen finger with an alcohol swab and let it dry completely before pricking it. This takes about 30 seconds. Alcohol that is still wet dilutes the blood and distorts the result.
It is best to choose the ring finger or middle finger of the non-dominant hand. These fingers have fewer nerve endings than the index finger. The thumb is too thick and the little finger too thin for a good sample.
Gently massage the finger from the base toward the tip to stimulate circulation. Do not press too firmly, as this can introduce tissue fluid into the sample. Tissue fluid can distort the readings.
3. Perform the Finger Prick Correctly
Hold the lancet perpendicular to the fingertip and press it firmly against the skin. Most lancets activate automatically. Prick the side of the fingertip, not the center. The center is more sensitive and heals more slowly.
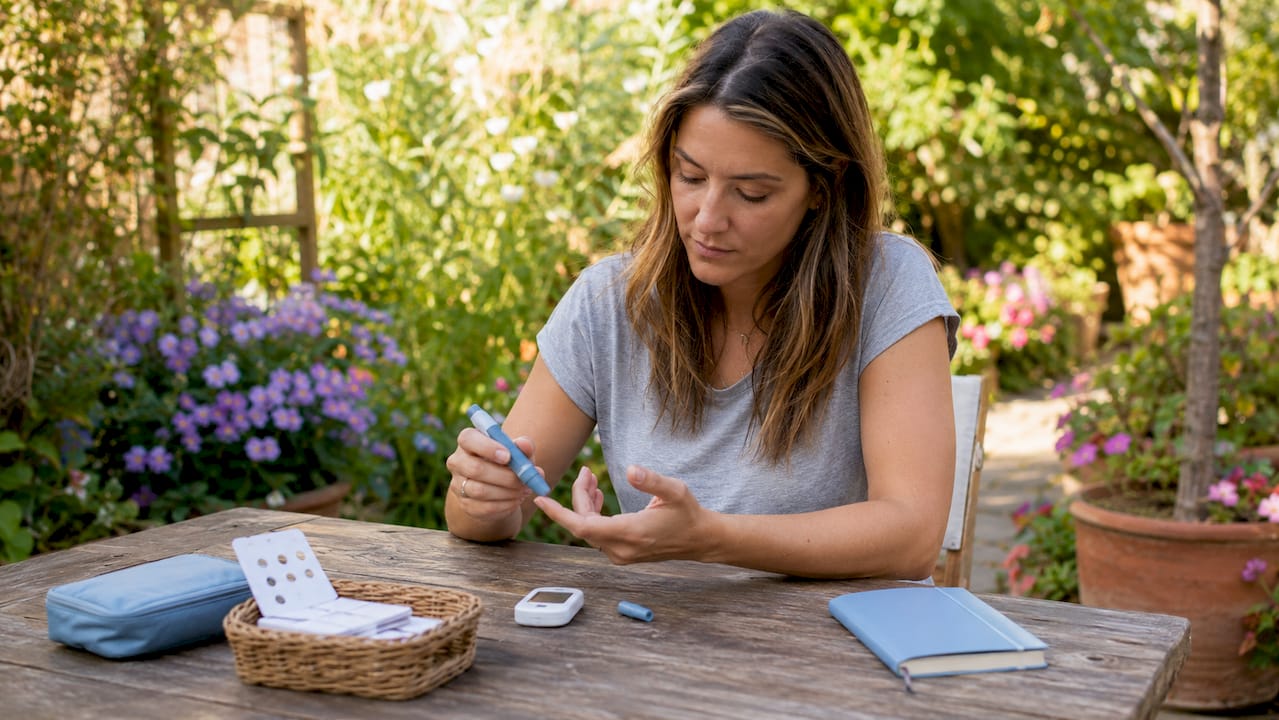
The first drops of blood are discarded to avoid contamination from skin particles or disinfectant residue. Simply wipe the first drop away with a clean cloth. Actual sample collection begins with the second or third drop.
Gently squeeze your finger to encourage blood flow. Do not squeeze hard, as this changes the composition of the blood. Let the blood flow as naturally as possible.
4. Apply Blood to the Filter Card
Hold your finger directly over the marked circle on the filter card and let a drop fall into it. Do not touch the card with your finger. Direct skin contact leaves traces of oil and cells that can affect the result.
The marked circles on the filter card must be completely saturated with blood. A partially filled circle is not sufficient for reliable analysis. The instructions for your test kit specify how many circles you need to fill; usually, it is two to five.
Fill each circle with one large drop rather than several small ones. Multiple layers dry unevenly and can interfere with the analysis. Wait briefly between circles so your finger can collect enough blood again.
Pro tip: Hold your finger slightly downward while applying the blood so gravity helps it drip. This means you need to apply less pressure and keeps the sample cleaner.
5. Let the Sample Dry
After collection, leave the filter card open to air-dry. This usually takes at least 30 minutes, and longer when humidity is high. Place the card on a clean, dry surface and do not touch the blood spots.
After collection, the card is air-dried before being sent in a dry envelope. This ensures sample stability. Moisture during packaging can lead to mold or degradation of blood components, making the result unusable.
Avoid direct sunlight while drying. UV light breaks down certain metabolites. A shaded place at room temperature is ideal.
6. Package and Send the Sample
Once the card is completely dry, place it in the included protective bag or envelope. Many kits contain a special desiccant pouch that absorbs residual moisture. Seal the envelope securely and add postage if necessary.
Dried blood samples are stable and can be sent to laboratories by post without any complications. This is a real advantage over venous blood samples, which must be transported under refrigeration. Send the sample on the same day or the following day if possible to avoid long storage times.
Make a note of the tracking number if you want to track the shipment. Some laboratories will notify you by email as soon as the sample arrives.
7. What happens in the laboratory
In the laboratory, a small piece is punched out of the filter card, corresponding exactly to the marked circle. Laboratory technicians extract the blood components from this punched-out sample using a solution. They then analyze the sample for the ordered parameters.
Dried blood spot tests primarily measure metabolites in the blood, not living bacteria or the microbiome. Typical parameters include fatty acids such as omega-3 and omega-6, vitamins, minerals, and certain hormones. Dried blood spot tests are particularly well suited for fatty acid analysis.
The following can be reliably measured with a dried blood spot test:
- Fatty acid profile (omega-3, omega-6, omega-9)
- Vitamins such as vitamin D or B12
- Minerals such as zinc or magnesium
- Certain metabolic markers and hormones
What it cannot do:
Important clarification: The dried blood spot test has not been validated for diagnosing SIBO. Current ACG guidelines (2020) list breath tests and small-intestinal aspirates as the standard. Anyone who wants to have their microbiome or gut flora analyzed needs a stool test, not a blood test.
The results are usually available digitally after 1–3 weeks. Some providers also send them by post.
8. How to interpret the results correctly
Test results show measured values with reference ranges. A value outside the reference range does not automatically mean a disease. It is an indication that you should investigate further.
Typical result formats show you:
- Your measured value in one unit (e.g., µmol/l or mg/dl)
- The reference range for healthy adults
- A color-coded classification (green, yellow, red)
- Brief explanations of what the value means
Marketing claims about diagnosing conditions with dried blood spot tests, especially in the areas of the microbiome or SIBO, are not scientifically substantiated. Do not let advertising claims guide you when they promise more than the method can deliver. A reputable provider clearly communicates what its test measures and what it does not.
If your values are unusual, seeing a doctor is part of the process. The dried blood spot test is a tool for self-monitoring, not a substitute for medical diagnostics. However, it is well suited to the long-term monitoring of health parameters because you can document changes over several months.
9. Dried blood spot test vs. venous blood collection
Both methods have their place. The difference lies in the effort involved, accuracy, and area of application.
| Criterion | Dried blood spot test | Venous blood collection |
|---|---|---|
| Procedure | At home, independently | Doctor's office or laboratory |
| Blood volume | A few drops | 5–20 ml |
| Transport conditions | Room temperature, stable | Refrigerated, time-sensitive |
| Measurable parameters | Metabolites, fatty acids, vitamins | Very broad range |
| Suitability for home testing | Yes | No |
| Accuracy | Good for suitable parameters | Higher for complex analyses |
| Cost | Often less expensive | Varies considerably |
Dried blood spot tests are a practical alternative to venous blood collection, especially for home testing and long-term monitoring. Venous blood collection remains the standard for complex diagnostics or rare diseases. Anyone who wants to regularly check their omega-3 status or vitamin D level is well served by a dried blood spot test. A microbiome analysis, on the other hand, requires a stool test.
Key findings
The dried blood spot test provides reliable values for fatty acids, vitamins, and metabolic markers when you carefully follow the sample-collection steps.
| Topic | Details |
|---|---|
| Sample preparation | Warm your finger, don't apply cream, and let the alcohol dry completely before pricking. |
| Discard the first drops | Wipe away the first drop of blood to avoid contamination. |
| Fill the card completely | Completely saturate each marked circle with a single large drop. |
| Drying and shipping | Air-dry for at least 30 minutes, then pack dry and ship promptly. |
| Know the limitations | Microbiome and SIBO cannot be reliably diagnosed using a dried blood spot test. |
What I learned after years of working with dried blood spot tests
The most common question we hear at mybody x is: “Why couldn't my sample be analyzed?” Almost always, it's due to one of the early steps. Either the finger was too cold, the circles on the card weren't completely filled, or the sample was packed away too soon.
What really surprised me after years in this field: Most mistakes don't happen during the finger prick, but during drying. Many people pack the card away after ten minutes because they think the blood looks dry. It appears that way from the outside. Inside, it often isn't dry yet. At least 30 minutes is not a guideline; it's a minimum.
And one more thing I want to address openly: The home-testing market is growing rapidly. So are the promises. Anyone who tells you that you can diagnose your microbiome or SIBO using a dried blood spot test is exaggerating. That is not an opinion; it is the current state of scientific knowledge. Don't let colorful graphics and percentages with no valid basis fool you.
The dried blood test is a real tool for real questions. Omega-3 status, vitamin D, minerals, fatty acid profile. It can measure these. And that is already a lot. Use it for that, and you will get information that genuinely helps you move forward.
— mybody x
Your next step with mybody x
mybody x offers ISO-certified blood analyses that you can conveniently perform at home. The kit arrives by mail, you collect the sample according to the instructions, send it back, and receive your results digitally with specific recommendations.
Whether you want to check your omega-3 levels, identify nutrient deficiencies, or understand your hormone status, the blood tests from mybody x cover a broad range. More than 11,300 customers have gained a better understanding of their health with them. Free shipping from 49 euros, GDPR-compliant data processing, and a money-back guarantee if no results are delivered. Find out which test suits your health goal at mybody-x.com.
FAQ
What exactly is a dried blood test?
A dried blood test consists of a drop of capillary blood dried on filter paper and analyzed in a laboratory. It is suitable for home testing and primarily measures metabolic products, fatty acids, and vitamins.
How many drops of blood do I need for the test?
Most test kits require two to five completely filled circles on the filter card. The exact number is specified in the instructions for the respective kit.
How long does it take to receive the results?
The analysis results are usually available after 1–3 weeks and are generally provided digitally. Some providers also send the results by mail.
Can I analyze my microbiome with a dried blood test?
No. Dried blood tests measure metabolic products, not living bacteria. A stool test is required for microbiome analysis. The comparison of microbiome tests at mybody x explains more.
What should I do if my sample could not be analyzed?
Check whether the circles are completely filled and whether the card was allowed to dry for at least 30 minutes. Most providers send a new kit if samples cannot be analyzed. Contact the provider’s customer service for the next step.

Share now:
Which vitamin deficiency causes muscle pain? Find the
Sudden muscle weakness: which signs require calling emergency services immediately