
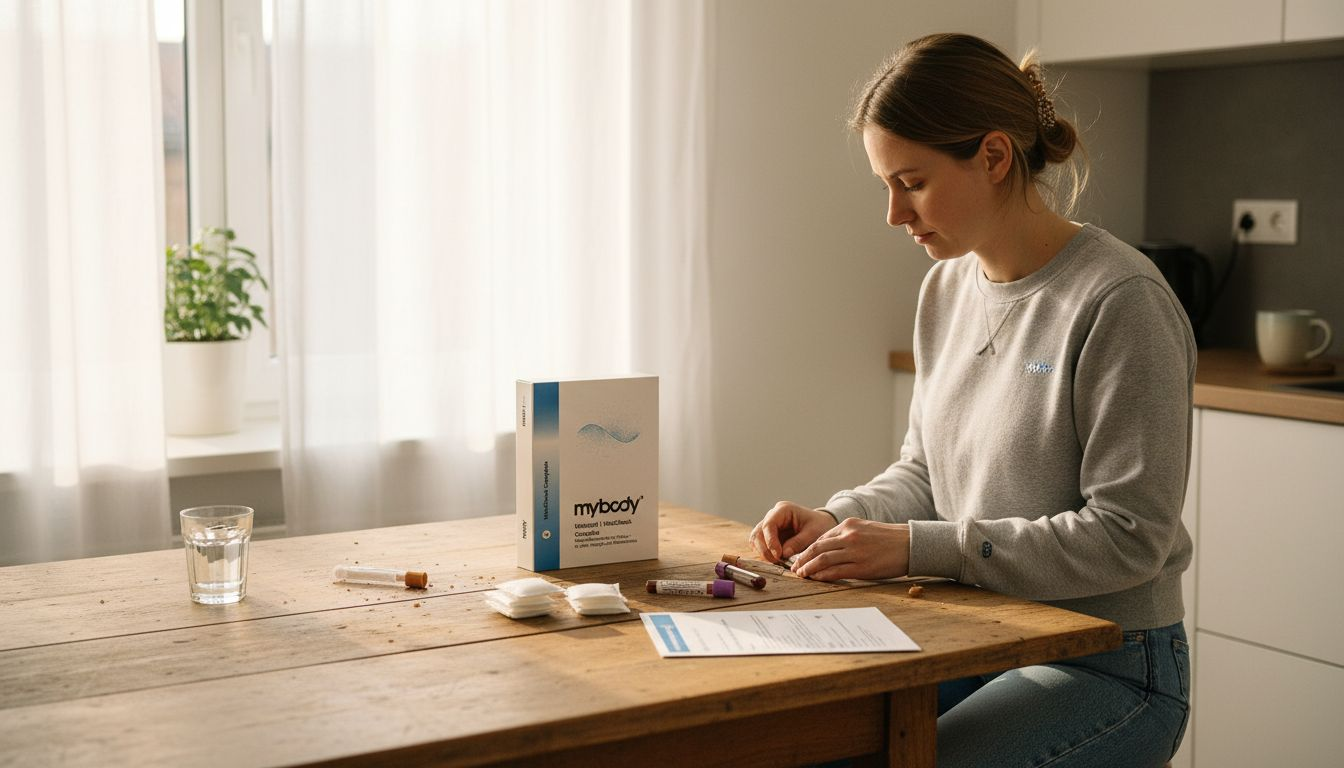
At-Home Blood Test Instructions: Step-by-Step Guide to Optimal Analysis
Blood values often reveal more about your body than a visit to the doctor. That is why more and more people in Central Europe want to take an active role in managing their health and improving their diet in a targeted way. With modern self-collection kits, obtaining a reliable blood sample takes less than 10 minutes. Find out how proper preparation and hygiene are crucial to truly understanding your personal health status.
Table of contents
- Step 1: Prepare all the necessary materials
- Step 2: Clean the puncture site carefully
- Step 3: Perform the blood collection correctly
- Step 4: Secure the sample properly for shipping
- Step 5: Check the shipping and receive the result
Quick overview
| Important point | Explanation |
|---|---|
| 1. Prepare all materials | Make sure all necessary supplies are undamaged and have not expired to ensure smooth blood collection. |
| 2. Clean the puncture site carefully | Thoroughly clean the puncture site with disinfectant wipes to prevent contamination and infection. |
| 3. Perform the blood collection correctly | Use the safety lancet at the correct angle and discard the first drop of blood to ensure sample quality. |
| 4. Secure the sample properly for shipping | Securely close and label the sample tubes to ensure the integrity of the sample. |
| 5. Check the shipment and wait for the results | Track the shipment using the tracking number and expect the analysis results by email within a few days. |
Step 1: Prepare all the necessary materials
Before starting the blood test, you need to gather the right materials. Careful preparation is essential for a reliable test result and helps you carry out the process stress-free and accurately.
First, you need the complete blood test materials kit from mybody, which typically contains the following components: a blood collection kit with sterile lancets, blood sample tubes, disinfectant wipes, adhesive bandages, and detailed instructions. Make sure all materials are intact and have not expired. Lay everything out neatly on a clean work surface so that everything is within easy reach during the blood collection.
Make sure your work surface is well lit and clean. Wash your hands thoroughly and clean the collection site with the provided disinfectant wipes. Also keep a paper towel or kitchen roll nearby to wipe up any drops.
Pro tip: Lay out all materials within easy reach and familiarize yourself with the instructions before beginning the blood collection.
Step 2: Clean the puncture site carefully
The second step in performing your blood test is carefully cleaning the puncture site. Precise disinfection is essential for the quality and reliability of your blood sample.
According to the recommendations for clinical disinfection, begin by washing your hands thoroughly with soap. Ideally, choose the side of your fingertip near the middle or ring finger for the puncture. These areas are particularly suitable for blood collection. First clean the selected area with an alcohol-based disinfectant wipe and allow it to air-dry completely. This prevents bacteria or foreign substances from entering the blood sample and ensures sterile sample collection.
Be careful not to touch the puncture site after disinfection. If you accidentally touch the cleaned area, repeat the disinfection process. Air-drying is important because residual moisture could contaminate the blood sample.
Pro tip: Gently move your hands before the puncture to stimulate circulation and improve blood flow.
Step 3: Perform the blood collection correctly
The crucial moment for a successful blood test is performing the blood collection precisely. With the right technique, you can obtain a reliable sample for your laboratory analysis.
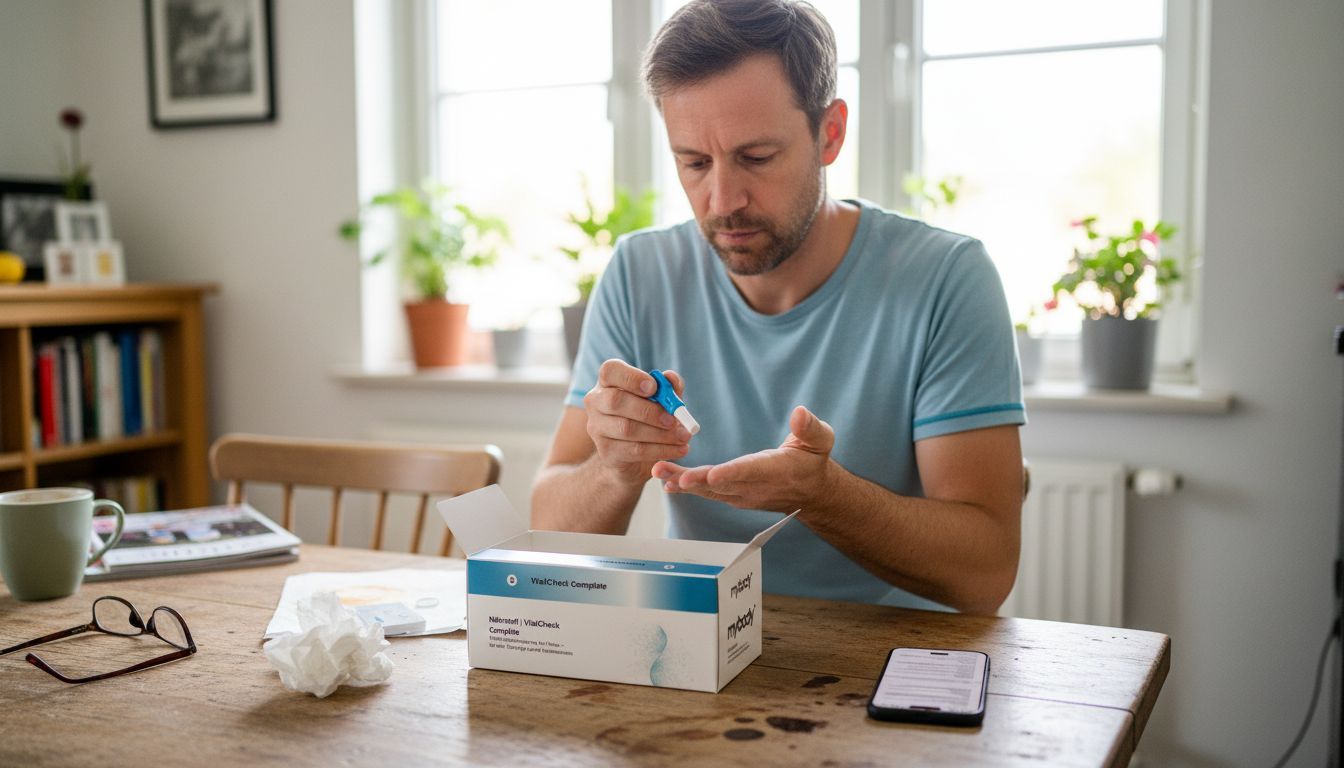
According to the recommendations in the capillary blood collection instructions, take the safety lancet and place it at a 90-degree angle on the previously disinfected fingertip. Press the lancet firmly against the skin and activate the release mechanism. The first drop of blood should be discarded because it may contain tissue debris or disinfectant residue. Carefully collect the subsequent drops in the prepared sample tubes.
Be sure to remain calm and relaxed. Applying gentle pressure below the puncture site can support blood flow, but avoid pressing or squeezing too hard. Approximately three to four drops of blood are sufficient for a complete analysis. After collecting the sample, press a clean bandage onto the puncture site.
Pro tip: Practice handling the lancet on a tissue beforehand to become more confident.
Step 4: Secure the sample properly for shipping
The final step of your blood test is professionally preparing the sample for shipping. Proper packaging and labeling are essential for the quality and evaluability of your laboratory analysis.
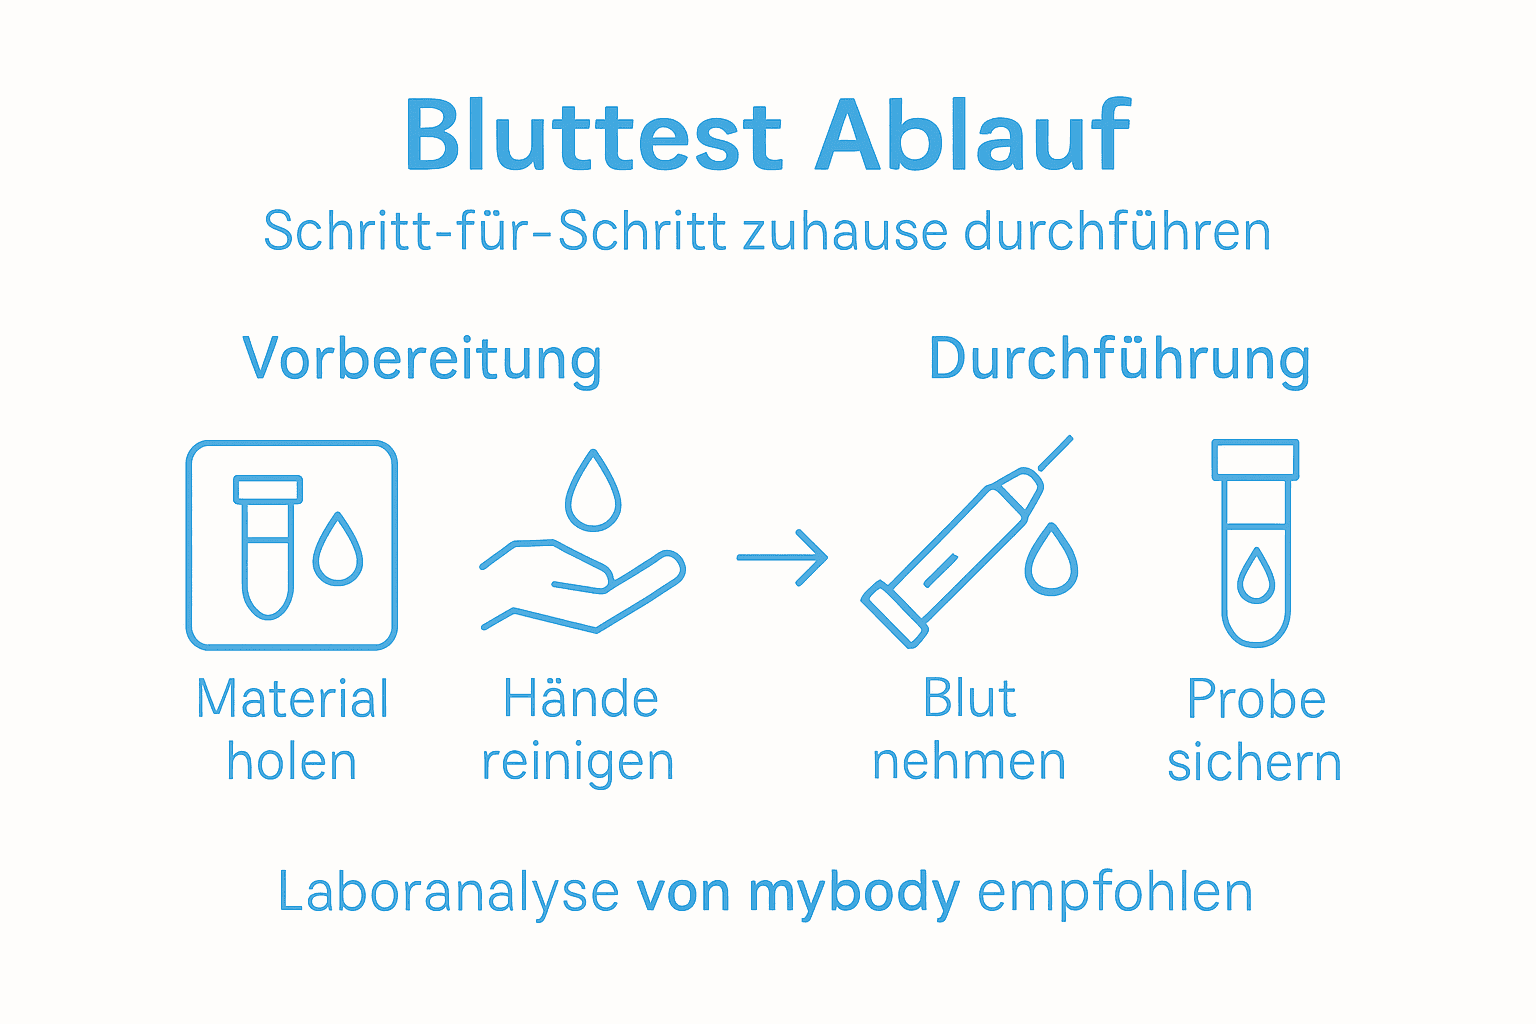
After collecting the blood, seal the sample tubes firmly and securely. Use the transport containers provided and make sure the blood sample is refrigerated and protected from light. Label the sample with your personal information, such as your name and date of birth. mybody’s Blood Test Instructions contain all the details for packaging the sample correctly.
Carefully place the labeled sample tube in the prepared return envelope. Make sure nothing leaks and that the tube is securely protected. Seal the envelope and put it in the mailbox that same day.
Pro tip: Photograph your sample’s barcode as a precaution in case problems arise during delivery.
Below is an overview of the most important aspects and potential sources of error when collecting blood independently:
| Category | Things to note | Common sources of error |
|---|---|---|
| Material preparation | Check the expiration date; use sterile materials | Expired or defective utensils |
| Hygiene | Wash and disinfect your hands thoroughly | Touching the puncture site |
| Technique | Choose the correct puncture angle and site | Too little or too much pressure |
| Sample security | Label and seal the tubes correctly | Missing labeling, leakage |
| Shipping | Refrigeration, protection from light, and timely shipping | Delayed shipping |
Step 5: Check the shipping and receive the result
After carefully collecting your sample, the exciting part of your health analysis now begins. Tracking and evaluating your blood sample is a crucial moment for obtaining your personal health information.
First check the tracking number on the return envelope and track the shipping status. On mybody’s Shipping and Information page, you can track the current status of your shipment live. Once your sample has arrived at the laboratory, the scientific analysis begins. Depending on the scope of the test, this takes between three and seven business days.
You receive your results directly by email and can also view them in your personal online portal. The detailed evaluation includes not only your measured values but also personalized recommendations for action regarding diet, exercise, and lifestyle.
This table summarizes the advantages of digital result delivery compared with the traditional laboratory printout:
| Aspect | Digital (email/portal) | Paper laboratory printout |
|---|---|---|
| Access speed | Within minutes of release | Several days by mail |
| Clarity | Interactive, additional graphics, filters | Static values, no filters |
| Availability | Available on mobile at any time | Location-bound, easy to lose |
| Data protection | Password-protected, encrypted | Risk when sent by mail |
Pro tip: Before receiving your results, create a quiet moment to study and reflect on the analysis at your leisure.
Perform a perfect blood draw easily at home and improve your health in a targeted way
Proper preparation and execution of your blood test are crucial for reliable results and precise health analyses. This is exactly where mybody® comes in, supporting you with high-quality at-home health tests – discover all tests - mybody®x and comprehensive instructions for optimal sample collection. This helps you avoid common sources of error such as incorrect technique or improper sample storage and obtain a meaningful analysis of your blood values.
Use the opportunity to understand not only your blood values with certified laboratory analyses from mybody®, but also to optimize your diet, hormones, and intolerances in a targeted way thanks to personalized recommendations. Discover our wide range now, from at-home hormone tests – triglycerides, cortisol, testosterone & more – mybody®x to At-home intolerance tests | mybody®x, and take the next step toward greater control over your health.
Visit mybody-x.com today and start your personal health journey with a scientifically sound and simple blood test. Enjoy the peace of mind that comes with reliable results and benefit from professional advice and state-of-the-art laboratory quality.
Frequently Asked Questions
How do I prepare the materials for my blood test at home?
To prepare the materials for your blood test properly, gather all the necessary supplies, such as the blood collection kit, disinfectant wipes, and sample tubes. Make sure everything is intact and not expired, and arrange the supplies neatly on a clean, well-lit surface.
What cleaning steps are required before drawing blood?
Before drawing blood, wash your hands thoroughly with soap and clean the puncture site with an alcohol-based disinfectant wipe. Allow the area to air-dry completely to ensure a sterile blood draw.
How do I perform the blood draw correctly?
To perform the blood draw correctly, place the safety lancet at a 90-degree angle on your disinfected fingertip and press it firmly into the skin. Discard the first drop of blood and collect the subsequent drops in the prepared tubes—about three to four drops should be sufficient.
How do I prepare the blood sample for shipping?
Close the sample tubes securely and label them with your name and date of birth. Pack the tubes in the provided transport containers and make sure they are kept cool and protected from light before sending the return envelope.
How do I track the shipment of my blood sample and receive the results?
Check the tracking number on the return envelope to track the shipping status of your sample. You will receive your results by email within three to seven business days and can also view them in your online portal.
What should I keep in mind when evaluating my results?
Take a quiet moment to analyze your results carefully. Pay attention to the personalized recommendations for nutrition, exercise, and lifestyle, which will help you make the most of your results.
Recommendation
- At-Home Stool Test: How to Check Your Gut Health | MYBODY-X – mybody®x
- Guide: Capillary Blood Test – Measure Blood Values at Home – mybody®x
- Get Your Testosterone Tested: Simple and Discreet from Home – mybody®x
- Irritable Bowel Syndrome Test: How to Finally Find Clarity for Your Gut – mybody®x
- A Step-by-Step Guide: How to Make CBD Infused Oil at Home – California Blendz



Share now:
Understand Your Blood Test Results Correctly – Gain More Vitality
7 scientifically proven tips for more energy in everyday life