
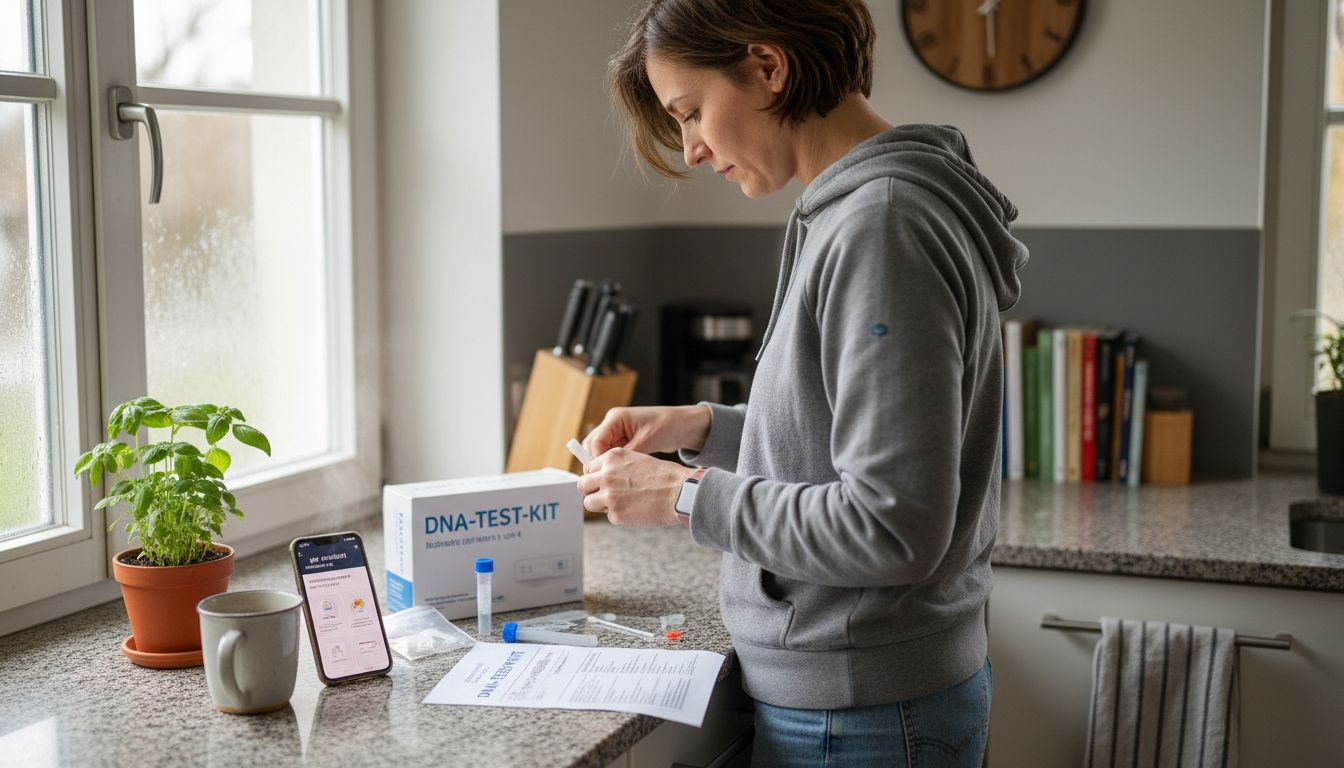
How a home genetic test works: Step-by-step guide
Anyone who consciously focuses on nutrition and health expects a home genetic test to offer not only convenient use but also maximum reliability. Even minor carelessness during preparation can affect the quality of the DNA sample and significantly reduce the reliability of the results. This guide shows you how to ensure clean and precise sample collection and optimize the entire process step by step—for precise and trustworthy results.
Table of contents
- Step 1: Prepare the test kit and your surroundings properly
-
Step 2: Collect the sample correctly
- Prepare the cotton swab: Take a sterile cotton swab out of the packaging
- Rub the inside of your cheek: Move the swab firmly along the inside of your cheek several times
- Collect cellular material: Rub with light pressure 10–15 times to collect enough cells
- Beware of contamination: Avoid contact with other surfaces
- Step 3: Secure and ship the sample according to the instructions
- Step 4: Activate your customer account to receive your results
- Step 5: Review and interpret your genetic test results
Quick overview
| Important point | Explanation |
|---|---|
| 1. Preparation is crucial | Avoid eating and drinking for 30 minutes before sample collection to ensure accurate results. |
| 2. Collect the sample carefully | Rub the cotton swab against the inside of your cheek for at least one minute to collect enough cellular material. |
| 3. Package and ship securely | Make sure the sample is thoroughly dry and use the original packaging for shipping. |
| 4. Complete the documentation accurately | Record all relevant information carefully to avoid delays in the analysis. |
| 5. Evaluate the results systematically | Read the laboratory reports carefully and consult an expert if anything is unclear to interpret your data correctly. |
Step 1: Prepare the test kit and your surroundings properly
Preparing your genetic test is crucial for precise and reliable results. A carefully performed test ensures that your DNA sample is collected without contamination or distortion.
You should specifically prepare your mouth and the surrounding area before collecting the sample. Here are the most important steps:
- 30 minutes before sample collection: Completely refrain from eating and drinking
- Clean your mouth: Rinse only with tap water
- Avoid dental care: Do not use toothpaste or mouthwash
- Have cotton swabs ready: Keep sterile sample collection swabs within reach
It is particularly important that you properly prepare the inside of your mouth. In the hours before the test, avoid all products that could affect your oral flora or DNA quality.
Sample collection requires concentration and care. Make sure not to contaminate the cotton swab and use it only as described in the instructions.
Important: Clean sample collection is the key to accurate test results.
Pro tip: Make sure your hands are thoroughly washed and disinfected before collecting the sample to avoid contamination.
Step 2: Collect the sample correctly
Now comes the crucial moment: You will collect your own DNA sample. Precise sample collection is essential for reliable test results.
For successful sample collection, you should collect cellular material correctly. Here are the most important steps:
- Prepare the cotton swab: Take a sterile cotton swab out of the package
- Rub the inside of the cheek: Move the swab firmly along the inside of your cheek several times
- Collect cellular material: Rub with light pressure 10–15 times to collect enough cells
- Beware of contamination: Avoid touching other surfaces
Be sure to rub for at least one minute to collect enough cells. Focus on collecting cellular material, not saliva.
Important: The cotton swab is your tool for collecting DNA—handle it carefully and precisely.
After collecting the sample, air-dry the swab for at least one hour before packaging it.
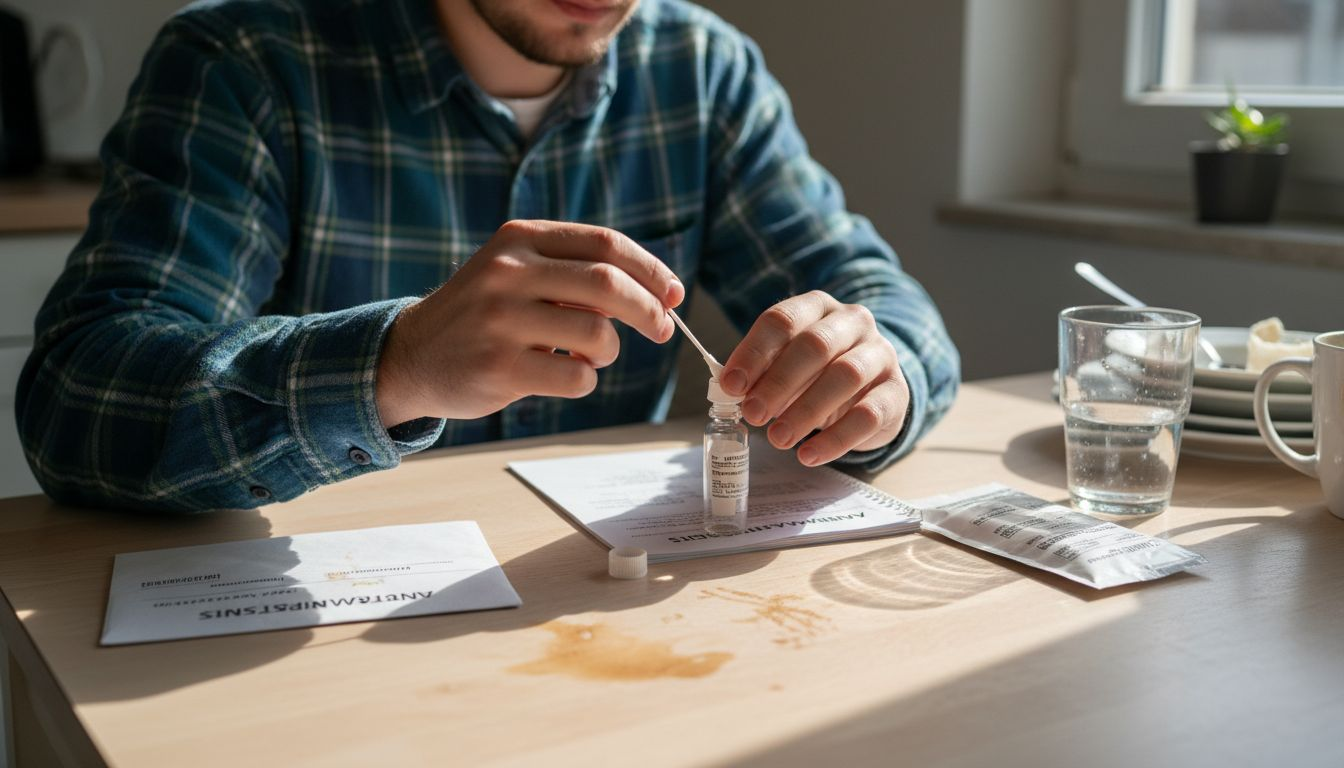
Here is an overview of common errors and their potential consequences when collecting a sample:
| Errors during sample collection | Possible effects | Preventive measures |
|---|---|---|
| Eating before the test | DNA sample contaminated | Fast for at least 30 minutes beforehand |
| Touching the cotton swab | Sample contamination | Touch only the inside of the cheek |
| Insufficient cellular material | Insufficient analysis | Rub for at least one minute |
| Do not let the swab dry | Sample too wet for the laboratory | Air-dry for one hour |
Pro tip: If you are unsure, first practice the motion without the cotton swab in front of a mirror to get a good feel for the correct technique.
Step 3: Secure and ship the sample according to the instructions
It is now time to safely package your carefully collected DNA sample and send it on its way. Proper handling is essential to guarantee the quality of your sample.
Securing your sample involves several important steps:
- Confirm drying: Make sure the cotton swab is completely air-dried
- Use the original packaging: Use only the included sample shipping bag
- Write down the sample code: Enter all required information carefully
- Follow the shipping instructions: Pay attention to the specific shipping instructions
Documentation is key: Complete all accompanying forms carefully and check your information several times.
Important: Correctly shipping the sample prevents delays and ensures the quality of your analysis.
Follow the exact instructions for return shipping and preferably use the prepaid return envelope.
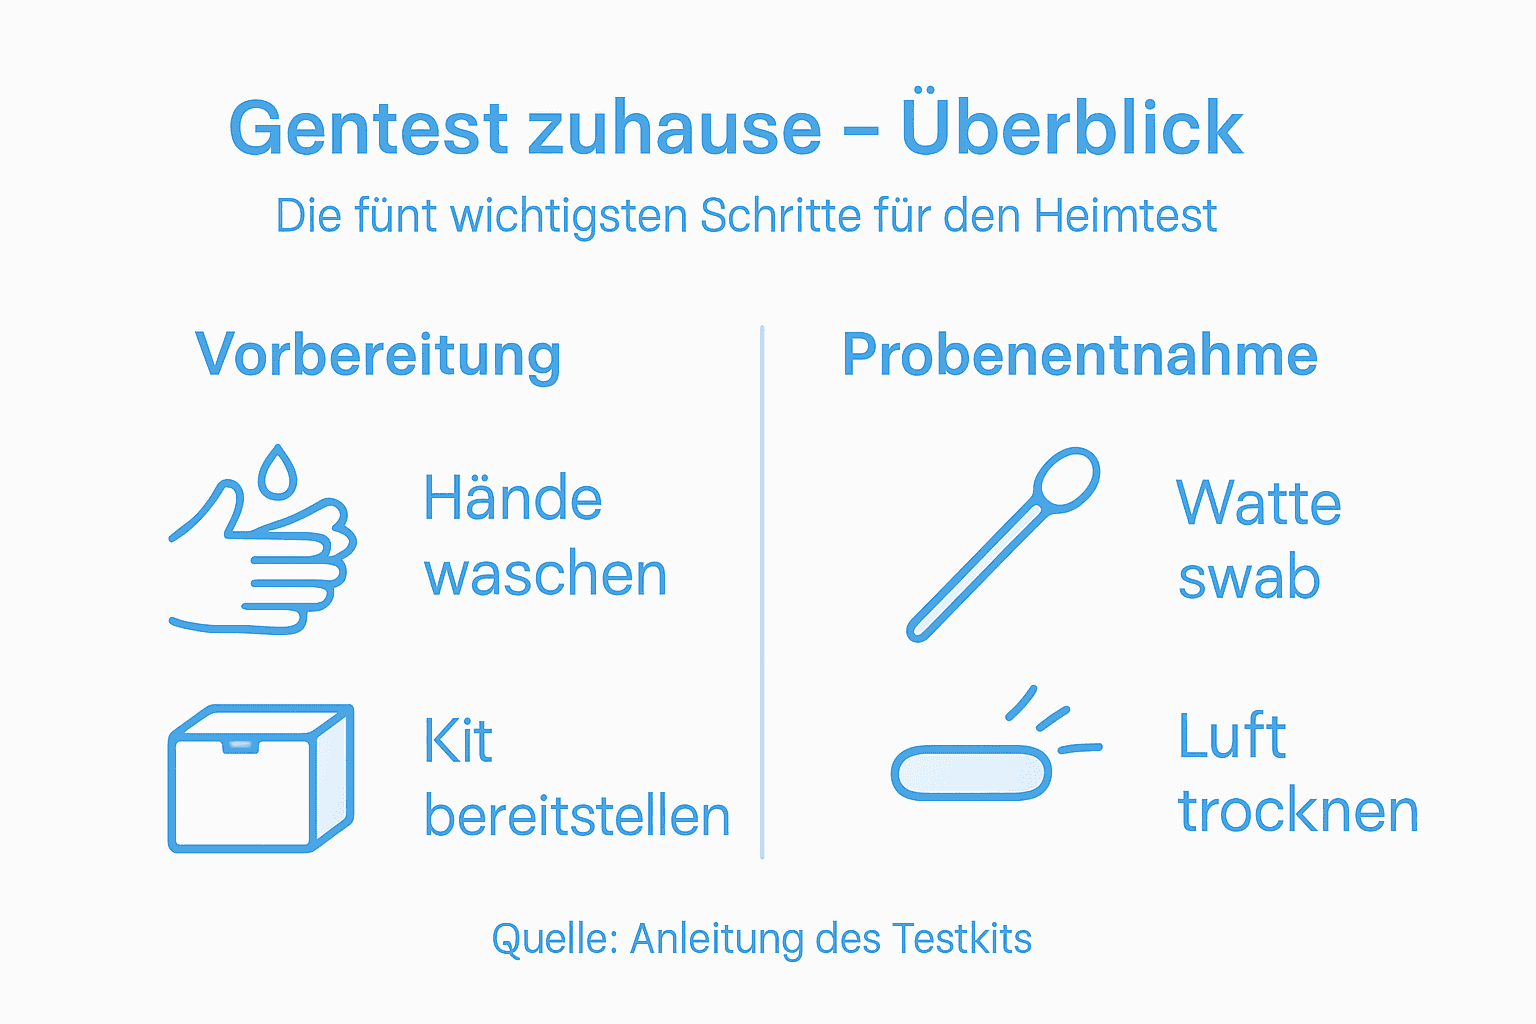
Pro tip: Photograph all shipping documents and the sample tracking code for additional security before sending the package.
Step 4: Activate your customer account to receive your results
The final step in your genetic test analysis is activating your personal customer account, through which you will receive your individual results. Understanding DNA analysis correctly means more than just collecting data—it is about deciphering your personal health information.
Here are the crucial steps to activate your account:
- Check your email: Look for the activation email in your inbox
- Have the tracking code ready: Use the code from your sample shipment
- Online registration: Go to the provider’s official website
- Enter personal information: Complete all required fields carefully
Data protection is the top priority: Make sure to share only the necessary information.
Important: Your personal health data remains confidential and is handled according to the highest data protection standards.
Pro tip: Keep all login details and the original tracking code safe so you can quickly access your results later.
The following overview shows how the steps after sample collection contribute to secure analysis:
| Step in the process | Significance for the analysis | Tip for optimal security |
|---|---|---|
| Pack the sample correctly | Prevents sample loss | Use the original shipping bag |
| Complete the documentation | Enables sample identification | Check the information several times |
| Ship according to the instructions | Secure transport to the laboratory | Use a return envelope with tracking |
| Secure your login details | Enables access to results | Save codes and emails |
Step 5: Review and interpret your genetic test results
You’ve done it! Your personal genetic data is now available and waiting to be decoded. Understanding genetic findings professionally requires care and a structured approach.
When analyzing your results, you should consider the following aspects:
- Read laboratory reports carefully: Take time for every detail
- Look up technical terms: Understand medical terminology
- Consider the overall context: Do not assess individual findings in isolation
- Seek professional advice: Consult experts if you are unsure
The results are typically provided in a secure online customer account, where you can review all the information at your leisure.
Important: Genetic data is complex—calmness and objectivity are essential.
Bear in mind that the results are probability statements and do not represent a 100% prediction.
Pro tip: Have a consultation with a geneticist or doctor to interpret your results comprehensively and professionally.
Easy at-home genetic testing with mybody®x
Do you want to understand your genetic data and derive personal health strategies from it? Just as described in our step-by-step guide, proper preparation and safe handling of your DNA sample are crucial for valid results. At mybody®x, you’ll find modern, easy-to-use at-home health tests—discover all tests that guarantee the highest quality through ISO-certified laboratory analyses.
Use mybody®x's comprehensive offering for a holistic analysis of your genetic predispositions and health. From DNA metabolism tests and microbiome analyses to at-home intolerance tests | With mybody®x, you can do everything conveniently and receive personalized recommendations for nutrition and lifestyle.
Start your journey toward better health and well-being today with a personal genetic test from mybody®x. Find out more at https://mybody-x.com and benefit from reliable results, expert advice, and maximum data security.
Frequently Asked Questions
How do I prepare optimally for an at-home genetic test?
To prepare optimally for a genetic test, you should refrain from eating and drinking for 30 minutes before collecting the sample. Rinse your mouth only with tap water and keep sterile cotton swabs ready.
How do I collect the sample correctly?
The sample is collected using a sterile cotton swab, which you rub firmly against the inside of your cheek several times. Make sure to rub for at least one minute to collect enough cell material.
What should I consider when packaging and shipping the sample?
Make sure the cotton swab is completely air-dried before placing it in the enclosed mailing bag. Carefully fill in all the required information and follow the provider's shipping instructions.
How do I activate my customer account to receive my results?
First, check your email inbox for the activation email and have the tracking code ready. Then go to the provider's official website and enter the required information to activate your account.
What should I consider when reviewing my genetic test results?
Take sufficient time to read the laboratory reports carefully and look up medical terms. Consider the results in the overall context and consult an expert if you are unsure for a better analysis of your data.
Recommendation
- Weight Loss Genetic Test: My Honest Experiences – Is It Worth It? – mybody®x
- At-Home Stool Test: How to Check Your Gut Health | MYBODY-X – mybody®x
- Weight Loss Genetic Test: Your Personal Code to Your Feel-Good Weight? – mybody®x
- Gut Flora Examination: Your Complete Guide to Microbiome Analysis – mybody®x
- Impotence Treatment and Symptoms - Mastering Conflict



Share now:
DNA diet test experiences: what can be substantiated
Genetic nutrition: Your personal key to the optimal diet