

Guide to interpreting genetic test results safely
Anyone looking to lose weight purposefully and improve their performance quickly encounters the challenges of standardized nutrition plans. Individual genetic analyses open up new possibilities for personalized nutrition tailored to your unique DNA. With careful preparation, such as not eating or drinking for at least 30 minutes before collecting the sample and thoroughly rinsing your mouth, you lay the foundation for reliable results. In this article, you will learn how to implement each step optimally and use the full potential of your genetic data for your health.
Table of contents
- Step 1: Prepare your genetic test kit properly
- Step 2: Send your sample to the certified laboratory
- Step 3: Review your personal results report
- Step 4: Analyze your genetic characteristics
- Step 5: Use personalized health recommendations
Quick overview
| Important point | Explanation |
|---|---|
| 1. Thorough preparation required | Avoid eating and drinking before collecting the sample to prevent contamination. |
| 2. Observe the correct shipping conditions | Label the sample and include all required documents to avoid delays. |
| 3. Professional result evaluation required | Have a professional interpret the results to avoid misunderstandings and identify health risks. |
| 4. Use personalized health recommendations | Use personalized nutrition and exercise suggestions for better health management. |
| 5. Review your progress regularly | Document and review your progress to evaluate the effectiveness of the recommendations. |
Step 1: Prepare your genetic test kit properly
Preparing your genetic test is crucial for precise and reliable results. In this section, I will show you step by step how to prepare your genetic test kit properly.
There are several important preparations to keep in mind when collecting the sample. The quality of your DNA sample depends directly on your preparation. The following points are particularly important:
- Avoid eating and drinking for at least 30 minutes before collecting the sample
- Rinse your mouth thoroughly with water
- Do not use toothpaste or oral hygiene products
- Wash your hands thoroughly before collecting the sample
For an optimal swab, we recommend using a sterile cotton swab and gently running it along the inside of your cheek 10–15 times. Make sure to collect enough cellular material without rubbing too firmly.
Important: After collection, the sample must air-dry for approximately two hours before you process it further.
Pro tip: Make sample collection a calm routine and allow yourself enough time for each step.
Step 2: Send your sample to the certified laboratory
The most important moment is now approaching: safely sending your sample to a certified laboratory. Proper shipping is crucial for precise and reliable test results.
For professional sample shipping, you must consider several essential aspects. Hazardous goods regulations and transport requirements play an important role. Here are the key points:
- Clearly label the sample with your personal details
- Use the original packaging provided
- Seal the sample airtight and securely
- Include the fully completed consent form
Make sure that all documents are completed correctly. Without the required documents, your sample cannot be analyzed.
Important: The shipment should be sent promptly to ensure the quality of your sample.
After shipping, you will generally receive a tracking number that allows you to track the progress of your sample.
Pro tip: Take a photo of the shipping documents for your records.
The following table shows the differences between sample preparation and shipping to the laboratory:
| Aspect | Sample preparation | Sample shipping |
|---|---|---|
| Goal | Obtain high-quality DNA samples | Safe and fast shipping |
| Main requirement | Hygiene and collecting cellular material | Include the documents correctly |
| Source of error | Contamination from food | Incomplete documentation |
| Time required | 10–15 minutes | 5–10 minutes |
Step 3: Review your personal results report
The exciting moment has now arrived when you decipher your individual test results. The personal results report contains valuable insights into your genetic makeup, but these must be interpreted by a qualified professional.
Genetic results require professional evaluation to be understood correctly. The report provides information about:
- Detected genetic variants
- Individual health risks
- Possible preventive measures
- Potential therapeutic recommendations
Pay particular attention to areas with unclear genetic significance. These require careful evaluation by experts.
Important: Genetic results are not a diagnosis, but an assessment of probability.
It is advisable to consult a genetic counselor who can explain the nuances of your report to you in detail.

Pro tip: Write down your questions before the consultation so you do not forget anything.
The following table summarizes the key areas of your results report and their benefits:
| Report element | Description | Health benefits |
|---|---|---|
| Genetic variants | Identified DNA changes | Disease risk assessment |
| Preventive measures | Recommended health strategies | Reduction of personal risks |
| Therapeutic guidance | Medical recommendations | Optimization of treatment options |
Step 4: Analyze your genetic characteristics
Your genetic analysis offers a unique insight into your personal biological map. The next step is to systematically and clearly decode this complex information.
Genomic samples are sequenced in specialized laboratories to identify your individual genetic variants. The following key aspects are examined:
- Identification of genetic variants
- Assessment of potential health risks
- Analysis of inheritance patterns
- Investigation of possible disease predispositions
Pay particular attention to genetic characteristics that could affect your health, diet, or fitness. Each genetic variation is an individual piece of your health history.
Important: Genetic results are statements of probability, not definitive diagnoses.
Professional interpretation by experts helps you understand the nuances of your genetic analysis.
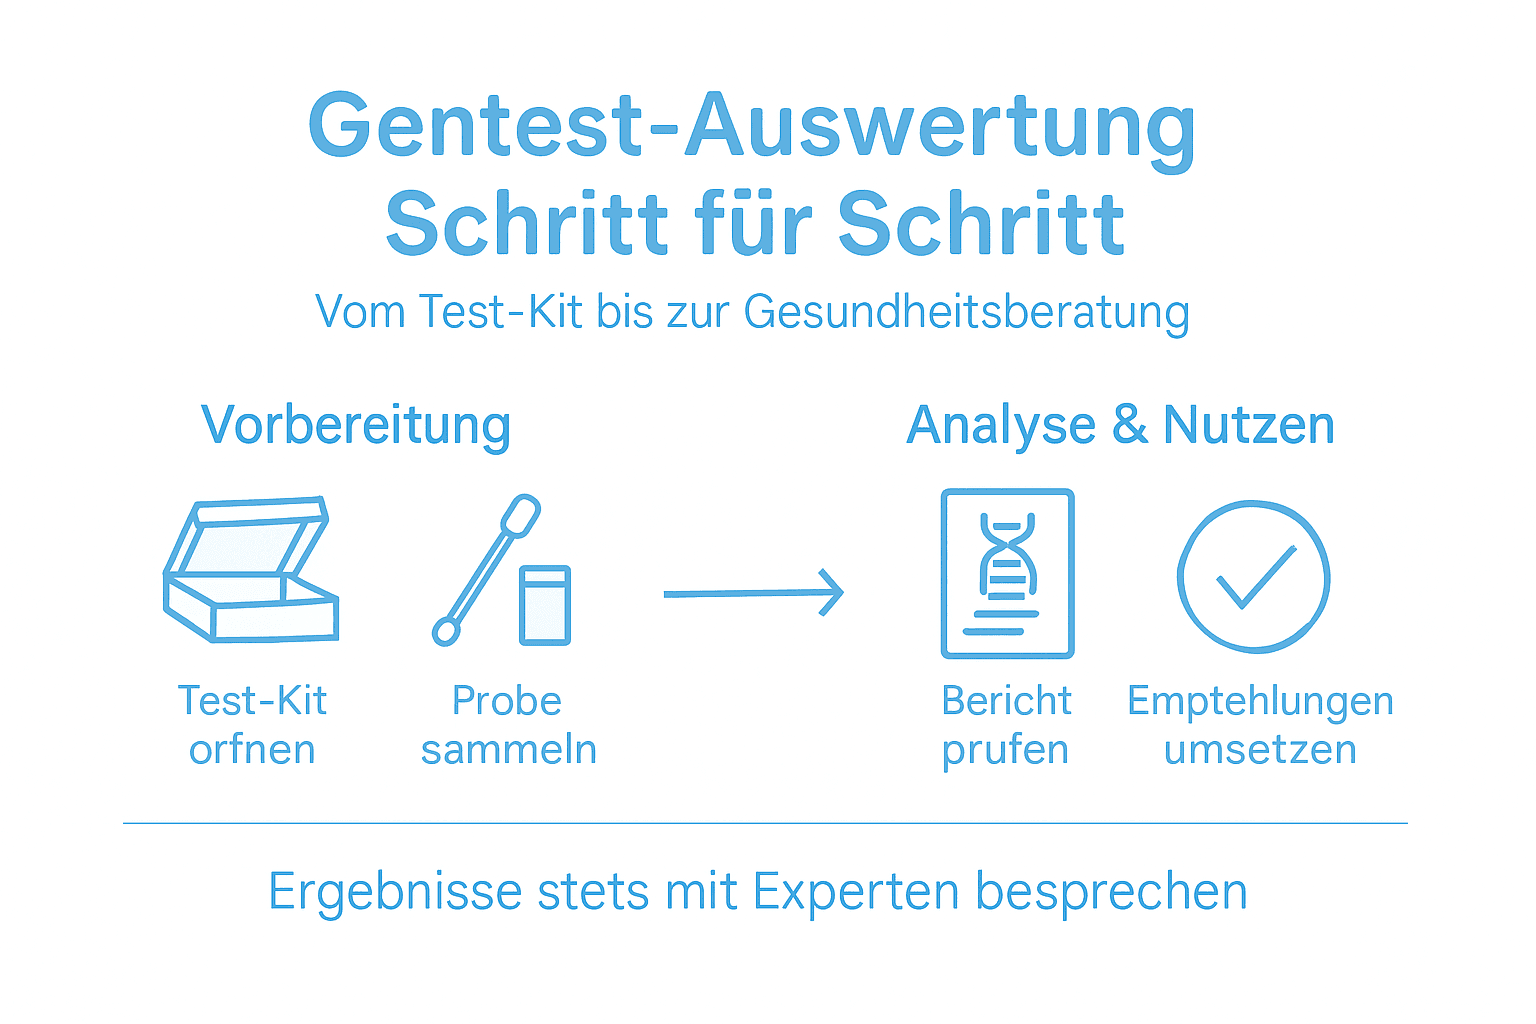
Pro tip: Create a chronological record of your results for future comparisons and health strategies.
Step 5: Use personalized health recommendations
After analyzing your genetic data, you receive personalized recommendations that can specifically support your health and quality of life. These individual insights are your personal key to preventive health management.
Genetic risks enable targeted prevention strategies tailored to your specific needs. The recommendations typically include:
- Dietary adjustments based on your genetic makeup
- Individual exercise recommendations
- Specific preventive examinations
- Tailored lifestyle interventions
Please note that these recommendations are guidelines and should not be understood as an absolute diagnosis. They provide a scientifically grounded basis for your personal health strategy.
Important: Every genetic recommendation is one building block, not the entire health plan.
For complex aspects, consult a doctor or expert for a comprehensive interpretation.
Pro tip: Review and document your progress regularly to evaluate the effectiveness of the recommendations.
Understand your genetic test results and take an active role in shaping your health
Safely interpreting a genetic test is a challenge for many people. Drawing the right conclusions from genetic variations is essential for personalized preventive healthcare. Uncertainties often arise when analyzing genetic characteristics and the recommendations derived from them. This is exactly where modern analytical expertise comes in. Only in this way can you use complex information to develop targeted and effective health strategies.
With mybody®x, you receive not only scientifically grounded analyses from certified laboratories, but also personalized recommendations tailored to your genetic data. For example, use our at-home intolerance tests | mybody®x to expand your individual health profile alongside genetic insights. This gives you more comprehensive insights into your bodily functions and enables you to make targeted adjustments to your diet or lifestyle. Start tracking your health today and benefit from expert knowledge and transparent data security. Discover all the possibilities at mybody®x and put your genetic insights to effective use for a healthier life.
Frequently asked questions
How do I prepare for the genetic analysis?
Prepare by not eating or drinking anything for at least 30 minutes before collecting the sample. Rinse your mouth thoroughly and wash your hands to avoid contamination.
What should I keep in mind when shipping my DNA sample?
Make sure to label the sample clearly and send it securely in the original packaging. Include the fully completed consent form, as the analysis cannot be performed without these documents.
How long will it take to receive my results report?
Processing your DNA sample in the laboratory generally takes between 4 and 6 weeks. Track the shipment of your sample using the tracking number you receive after sending it.
How do I interpret the results of my genetic test?
Have the results interpreted by a professional, such as a genetic counselor, to avoid misunderstandings. Before the consultation, make a note of important questions you would like to clarify.
What health recommendations will I receive after the genetic test?
After analyzing your genetic data, you will receive personalized recommendations tailored to your genetic predisposition. These recommendations may include dietary adjustments, exercise recommendations, and specific preventive examinations.
What steps should I take after receiving my results report?
Review the results thoroughly and consult an expert to understand the significance of the genetic variants. Document your progress regularly to evaluate the effectiveness of the recommendations provided.



Share now:
Online nutrition analysis: Understand your body’s signals
Find your perfect nutrition plan with a nutrition type test